Process
Over the 5 weeks of this project, this interactive experience turned from just an idea into an interactive experience that was able to be played by peers and lecturers. Although we had no prior experience with making a game on p5js, or with physical prototyping, through a series of experiments, trials, errors, and lots of learning, Roundup was created.
Testing of ideas
To create Roundup, many different components must be tested and developed. These include the game’s code on p5js, the visual identity and design as well as materials for the board’s prototype.
Coding tests
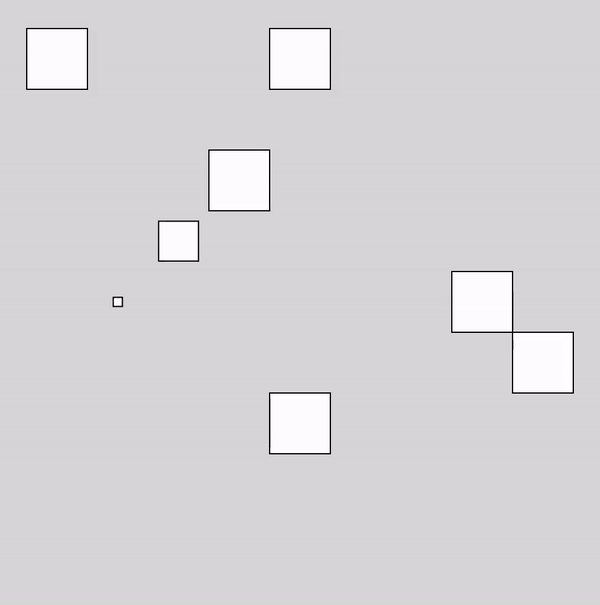
The game was broken down into different codes in order to manageably create the necessary parts. Experiments done during this week were visually very simple, mainly focusing on the mechanics of the code, and getting the shapes to move as desired.
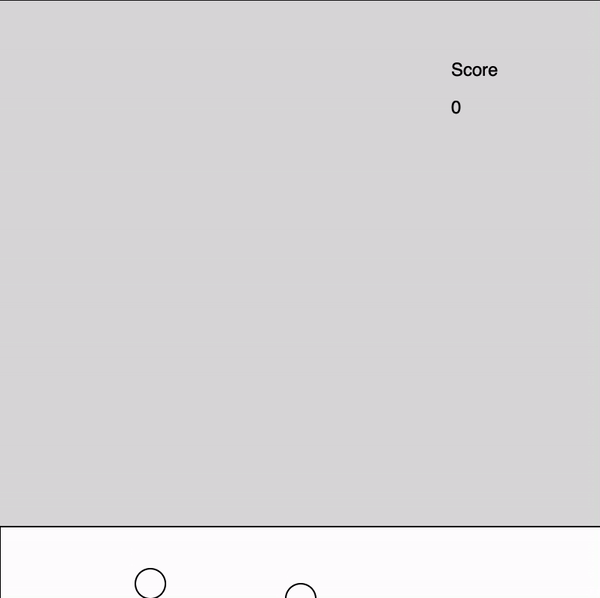

Once settling on the game design, the game’s core coding mechanics can be finalised. Using functions such as array, class and key pressed, the first wireframe of the game was created, leaving room for further improvements in terms of design.
Following this, we experimented with adding different color schemes, shapes, score functions, and sounds to the code. At this time, Roundup didn’t have a clear visual identity or direction yet, so the explorations were unimpended.
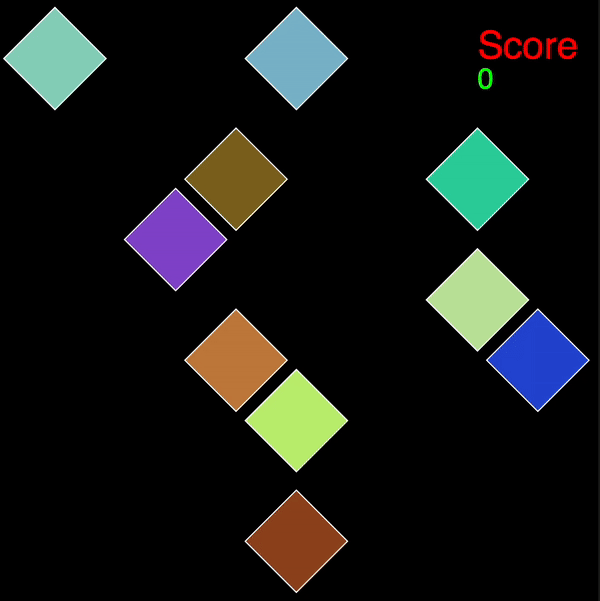
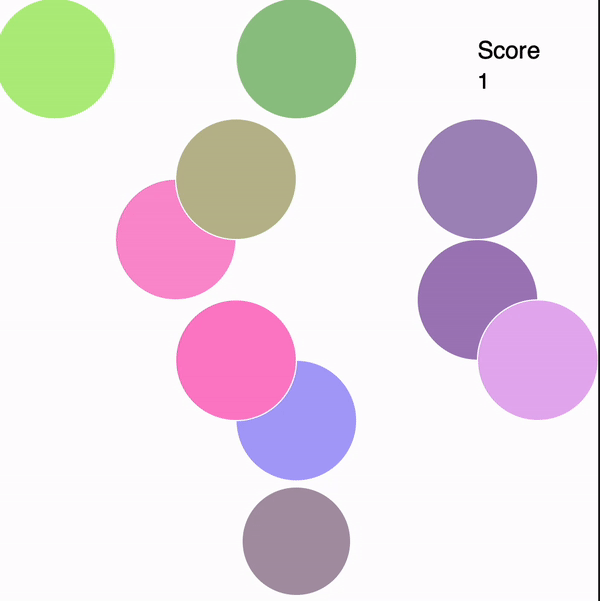

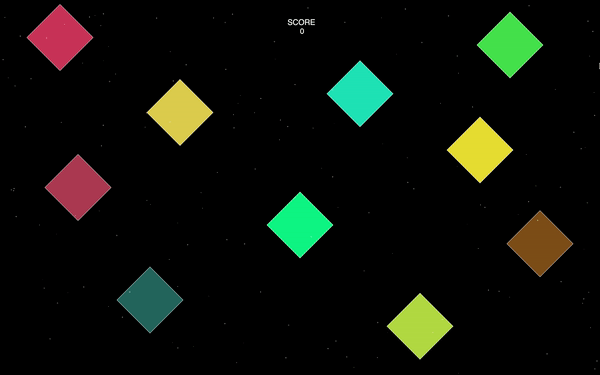
We felt that only using p5js to create the visuals of the code was quite restricting, perhaps due to our level of skill with the p5js program. It was difficult for us to progress our code from its current state into what we imagine, as we struggled to change the shapes and colors the way we wanted.
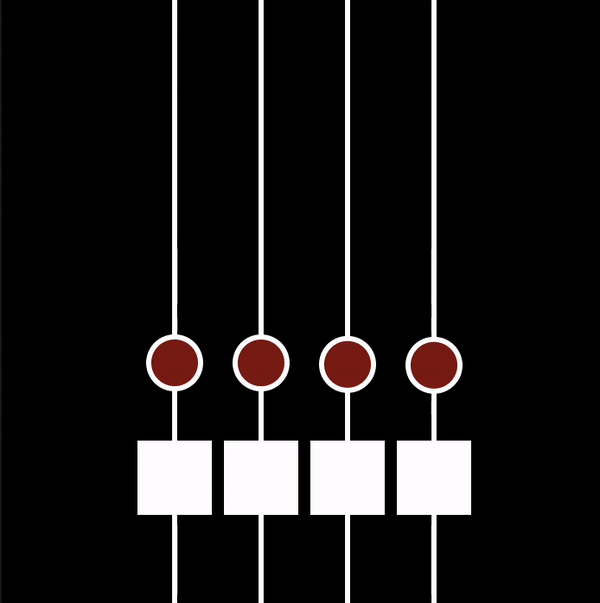
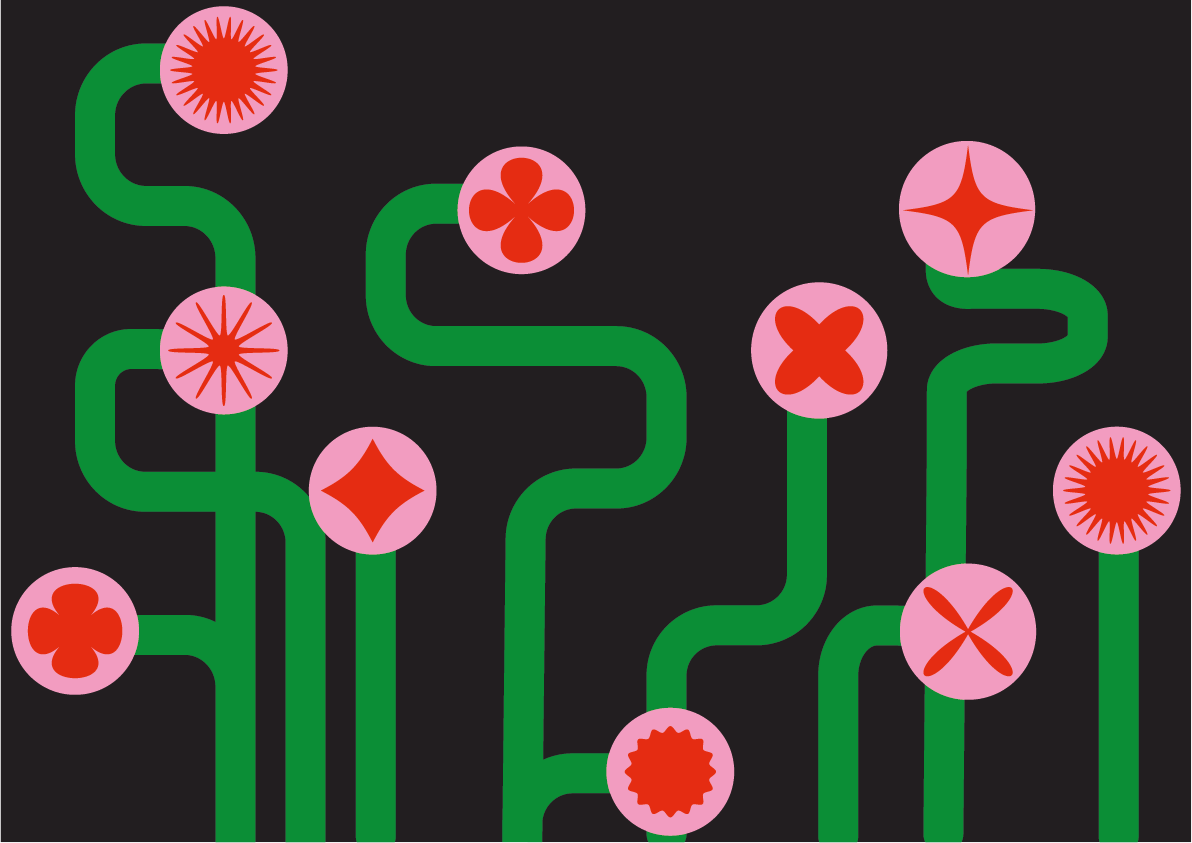
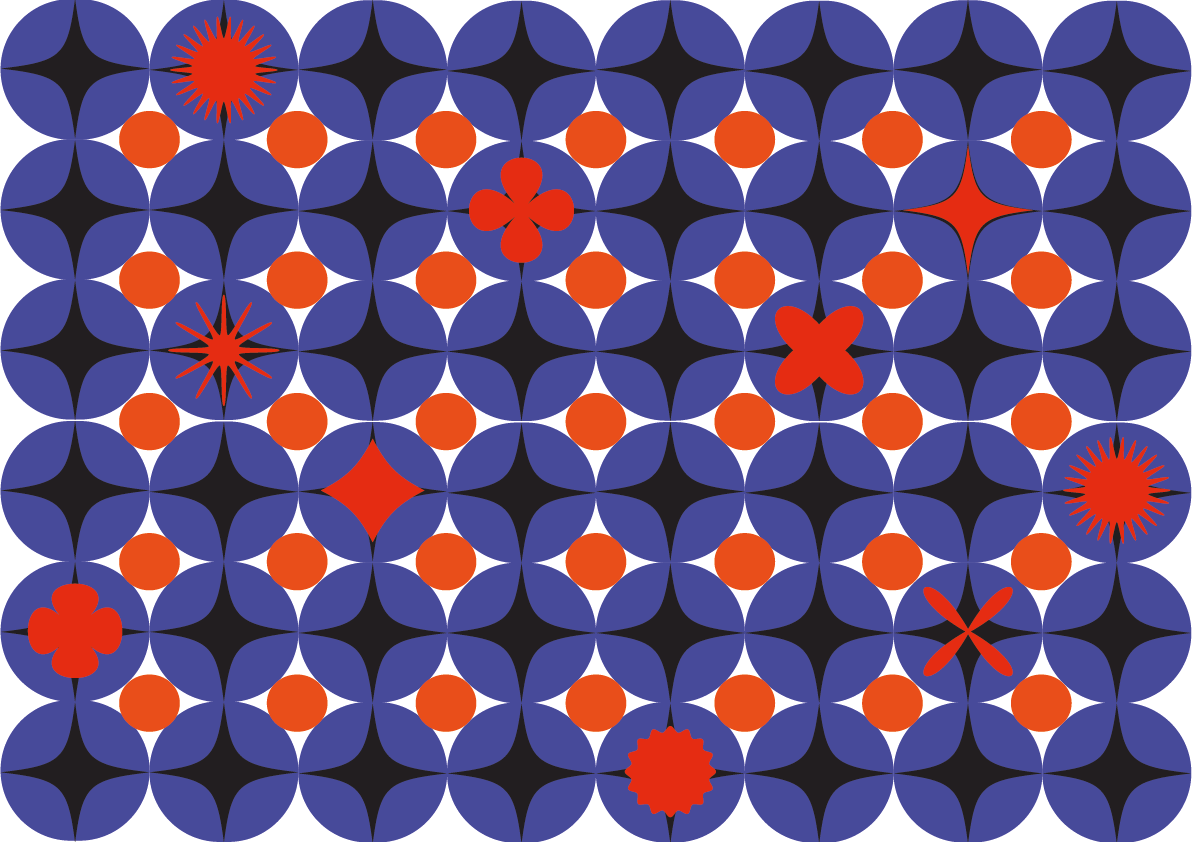
Our next step of progression was to design our shapes on Illustrator, and then import them into p5js. This allowed us the freedom to make the icons different from one another, and flexibility in terms of shape and colors.

Design
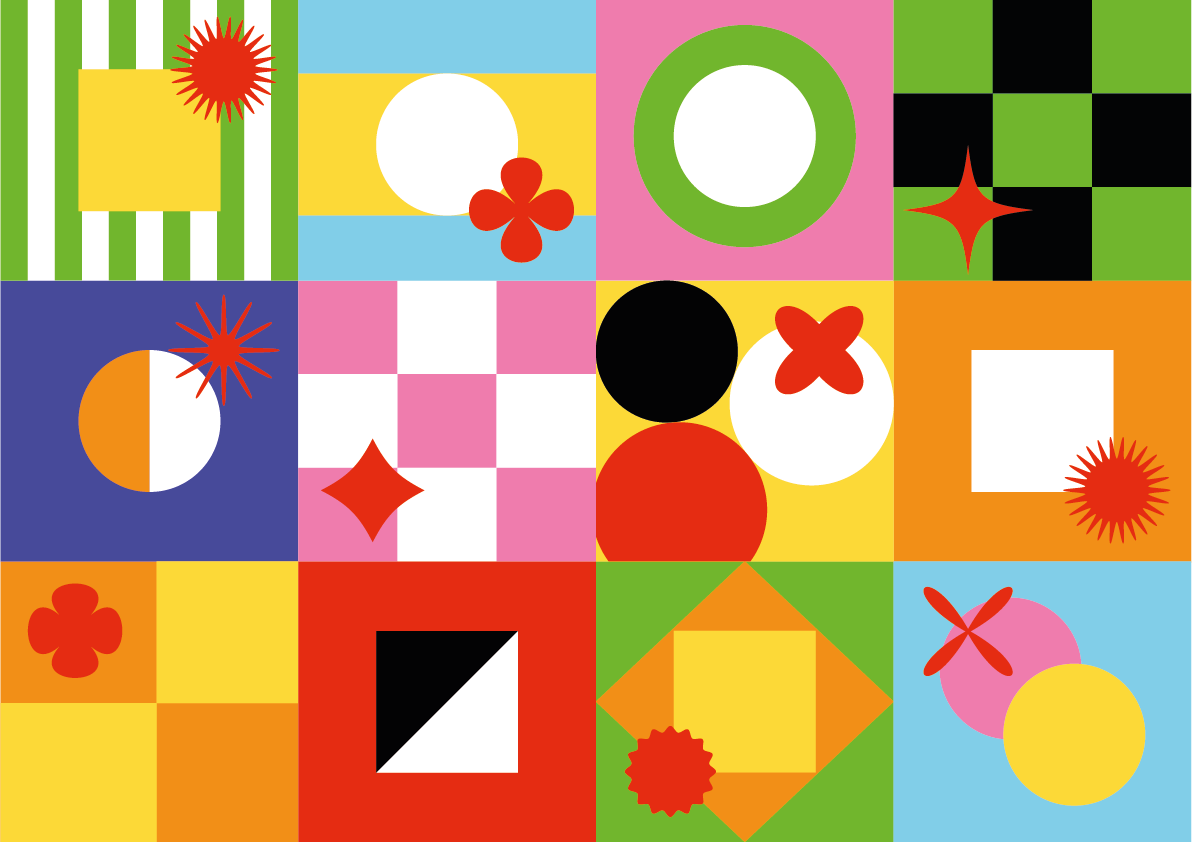
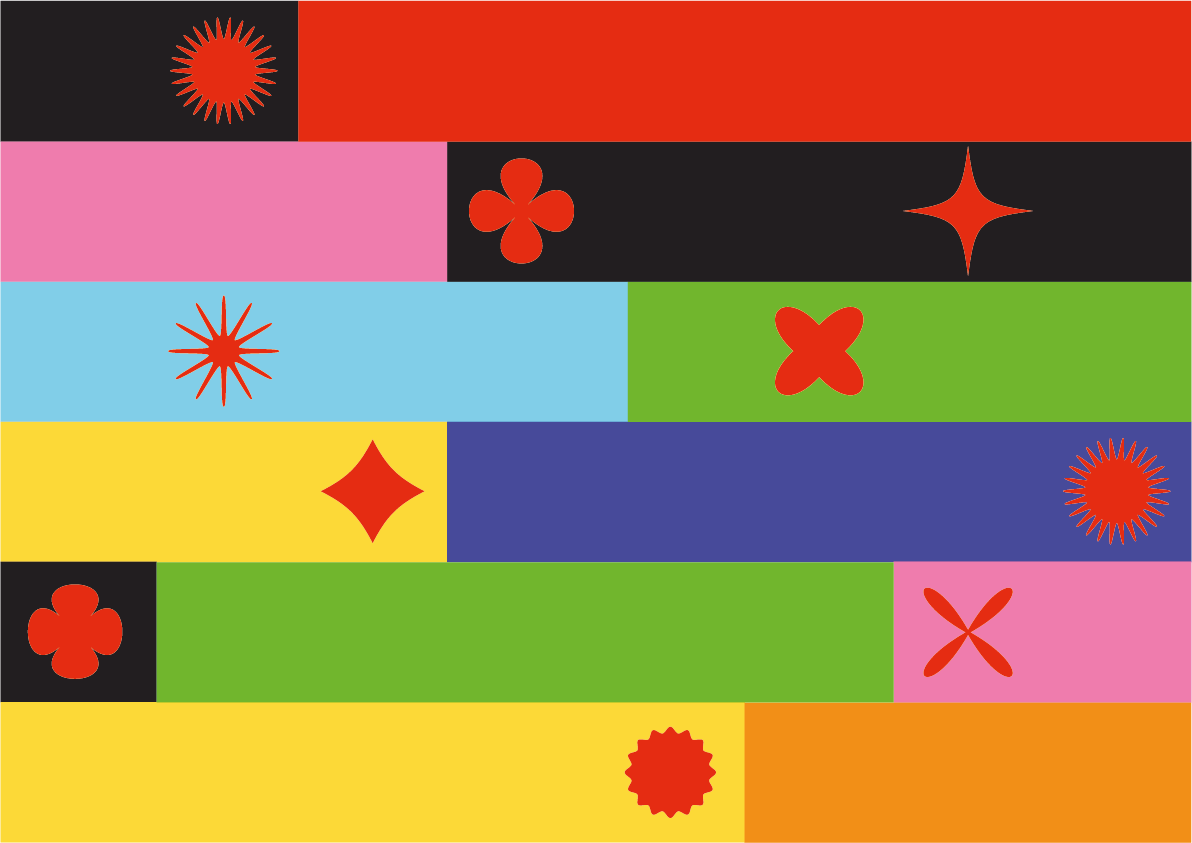
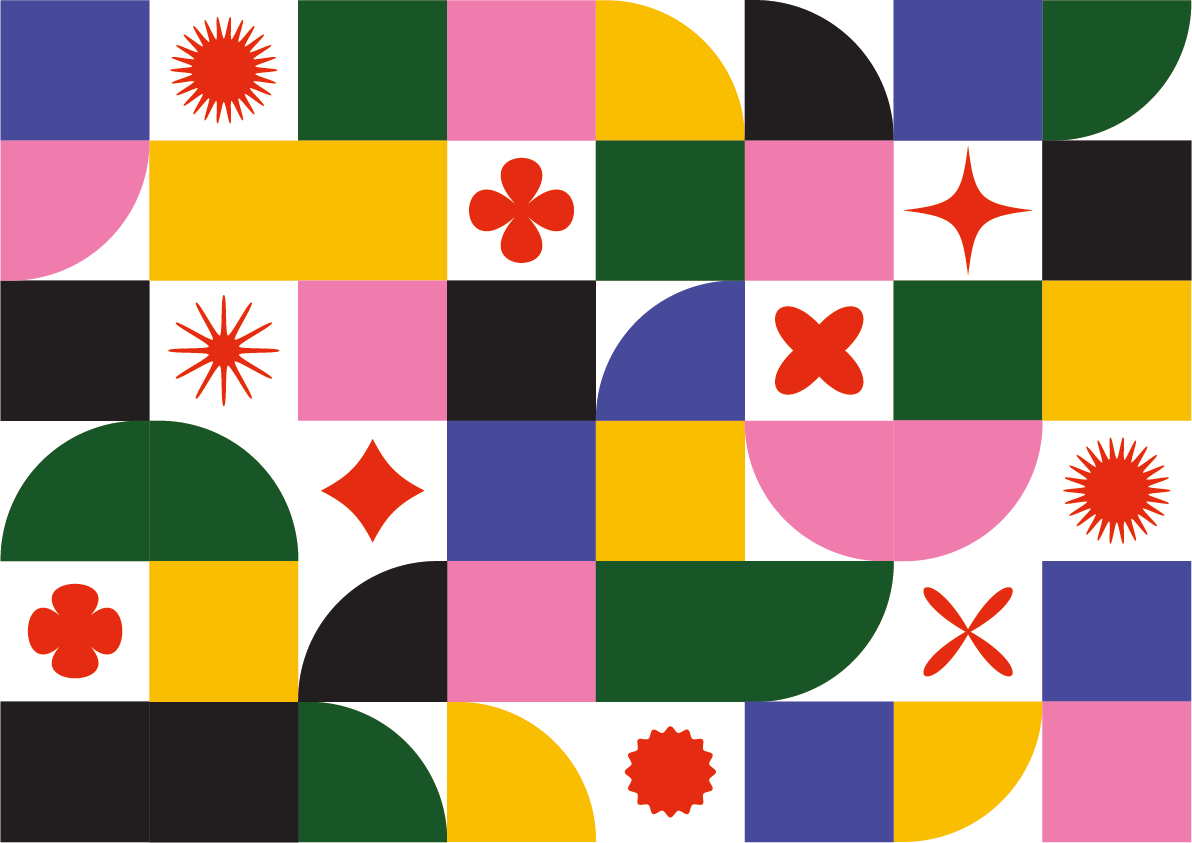
As the Roundup game is a collaboration with Ikea, our design was inspired by primarily their children’s line of design. Our designs are simple yet brightly colored, designed to appeal to all ages.
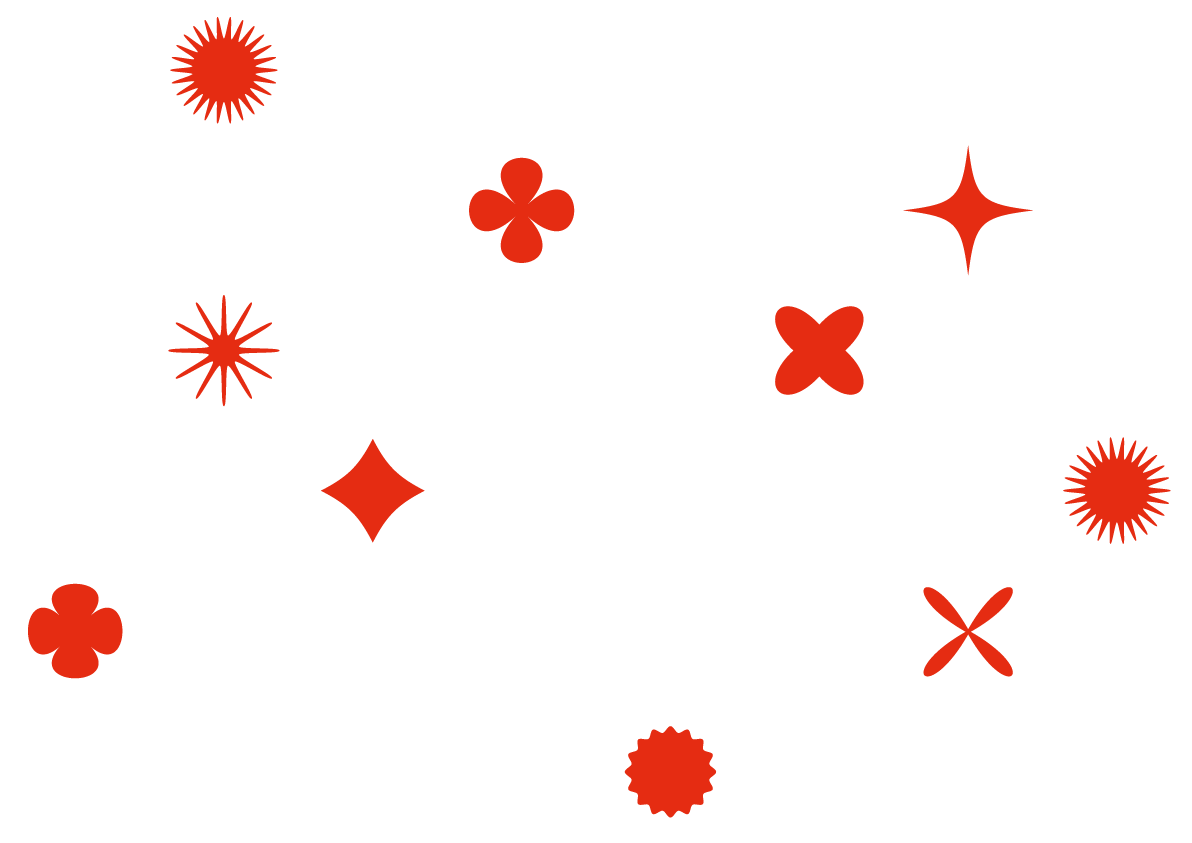
The first thing we created was the icons which would be projected onto the board. They were all created using the pucker and bloat tool in Illustrator for coherence. We then had the idea of making multiple board designs that would work with the same set of projections. All our mat design aligns with the projection, allowing for ease in interchangeability and customisation.

Prototype tests
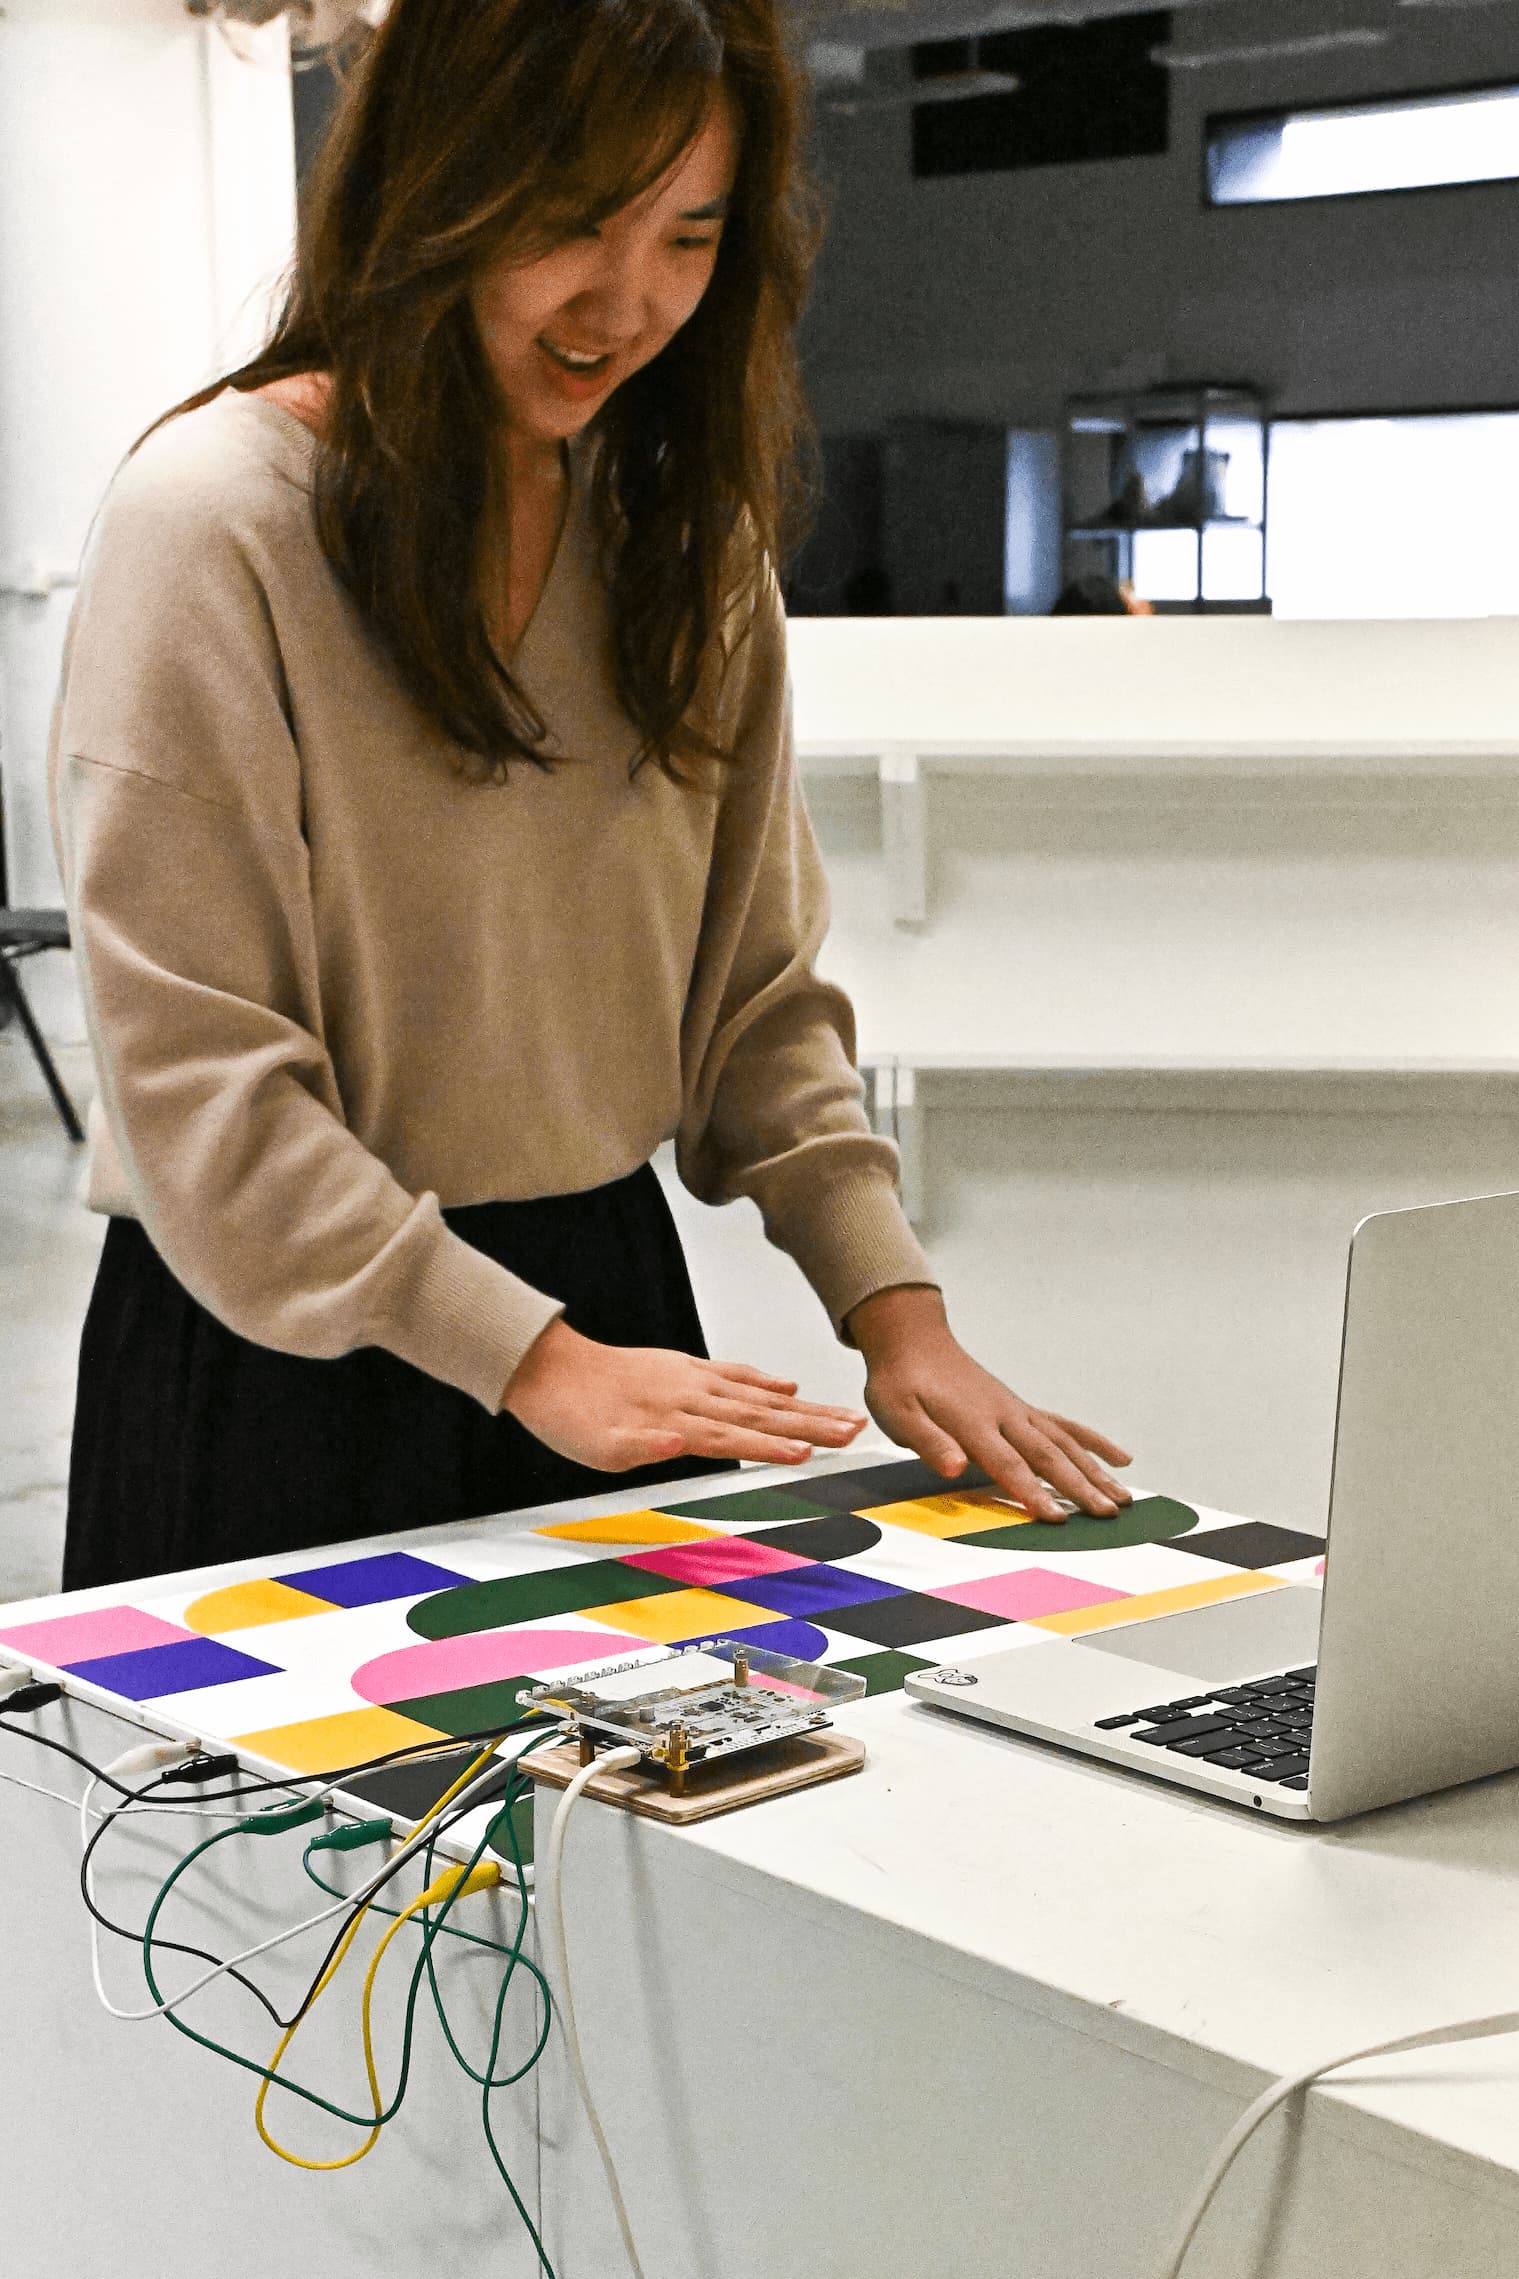
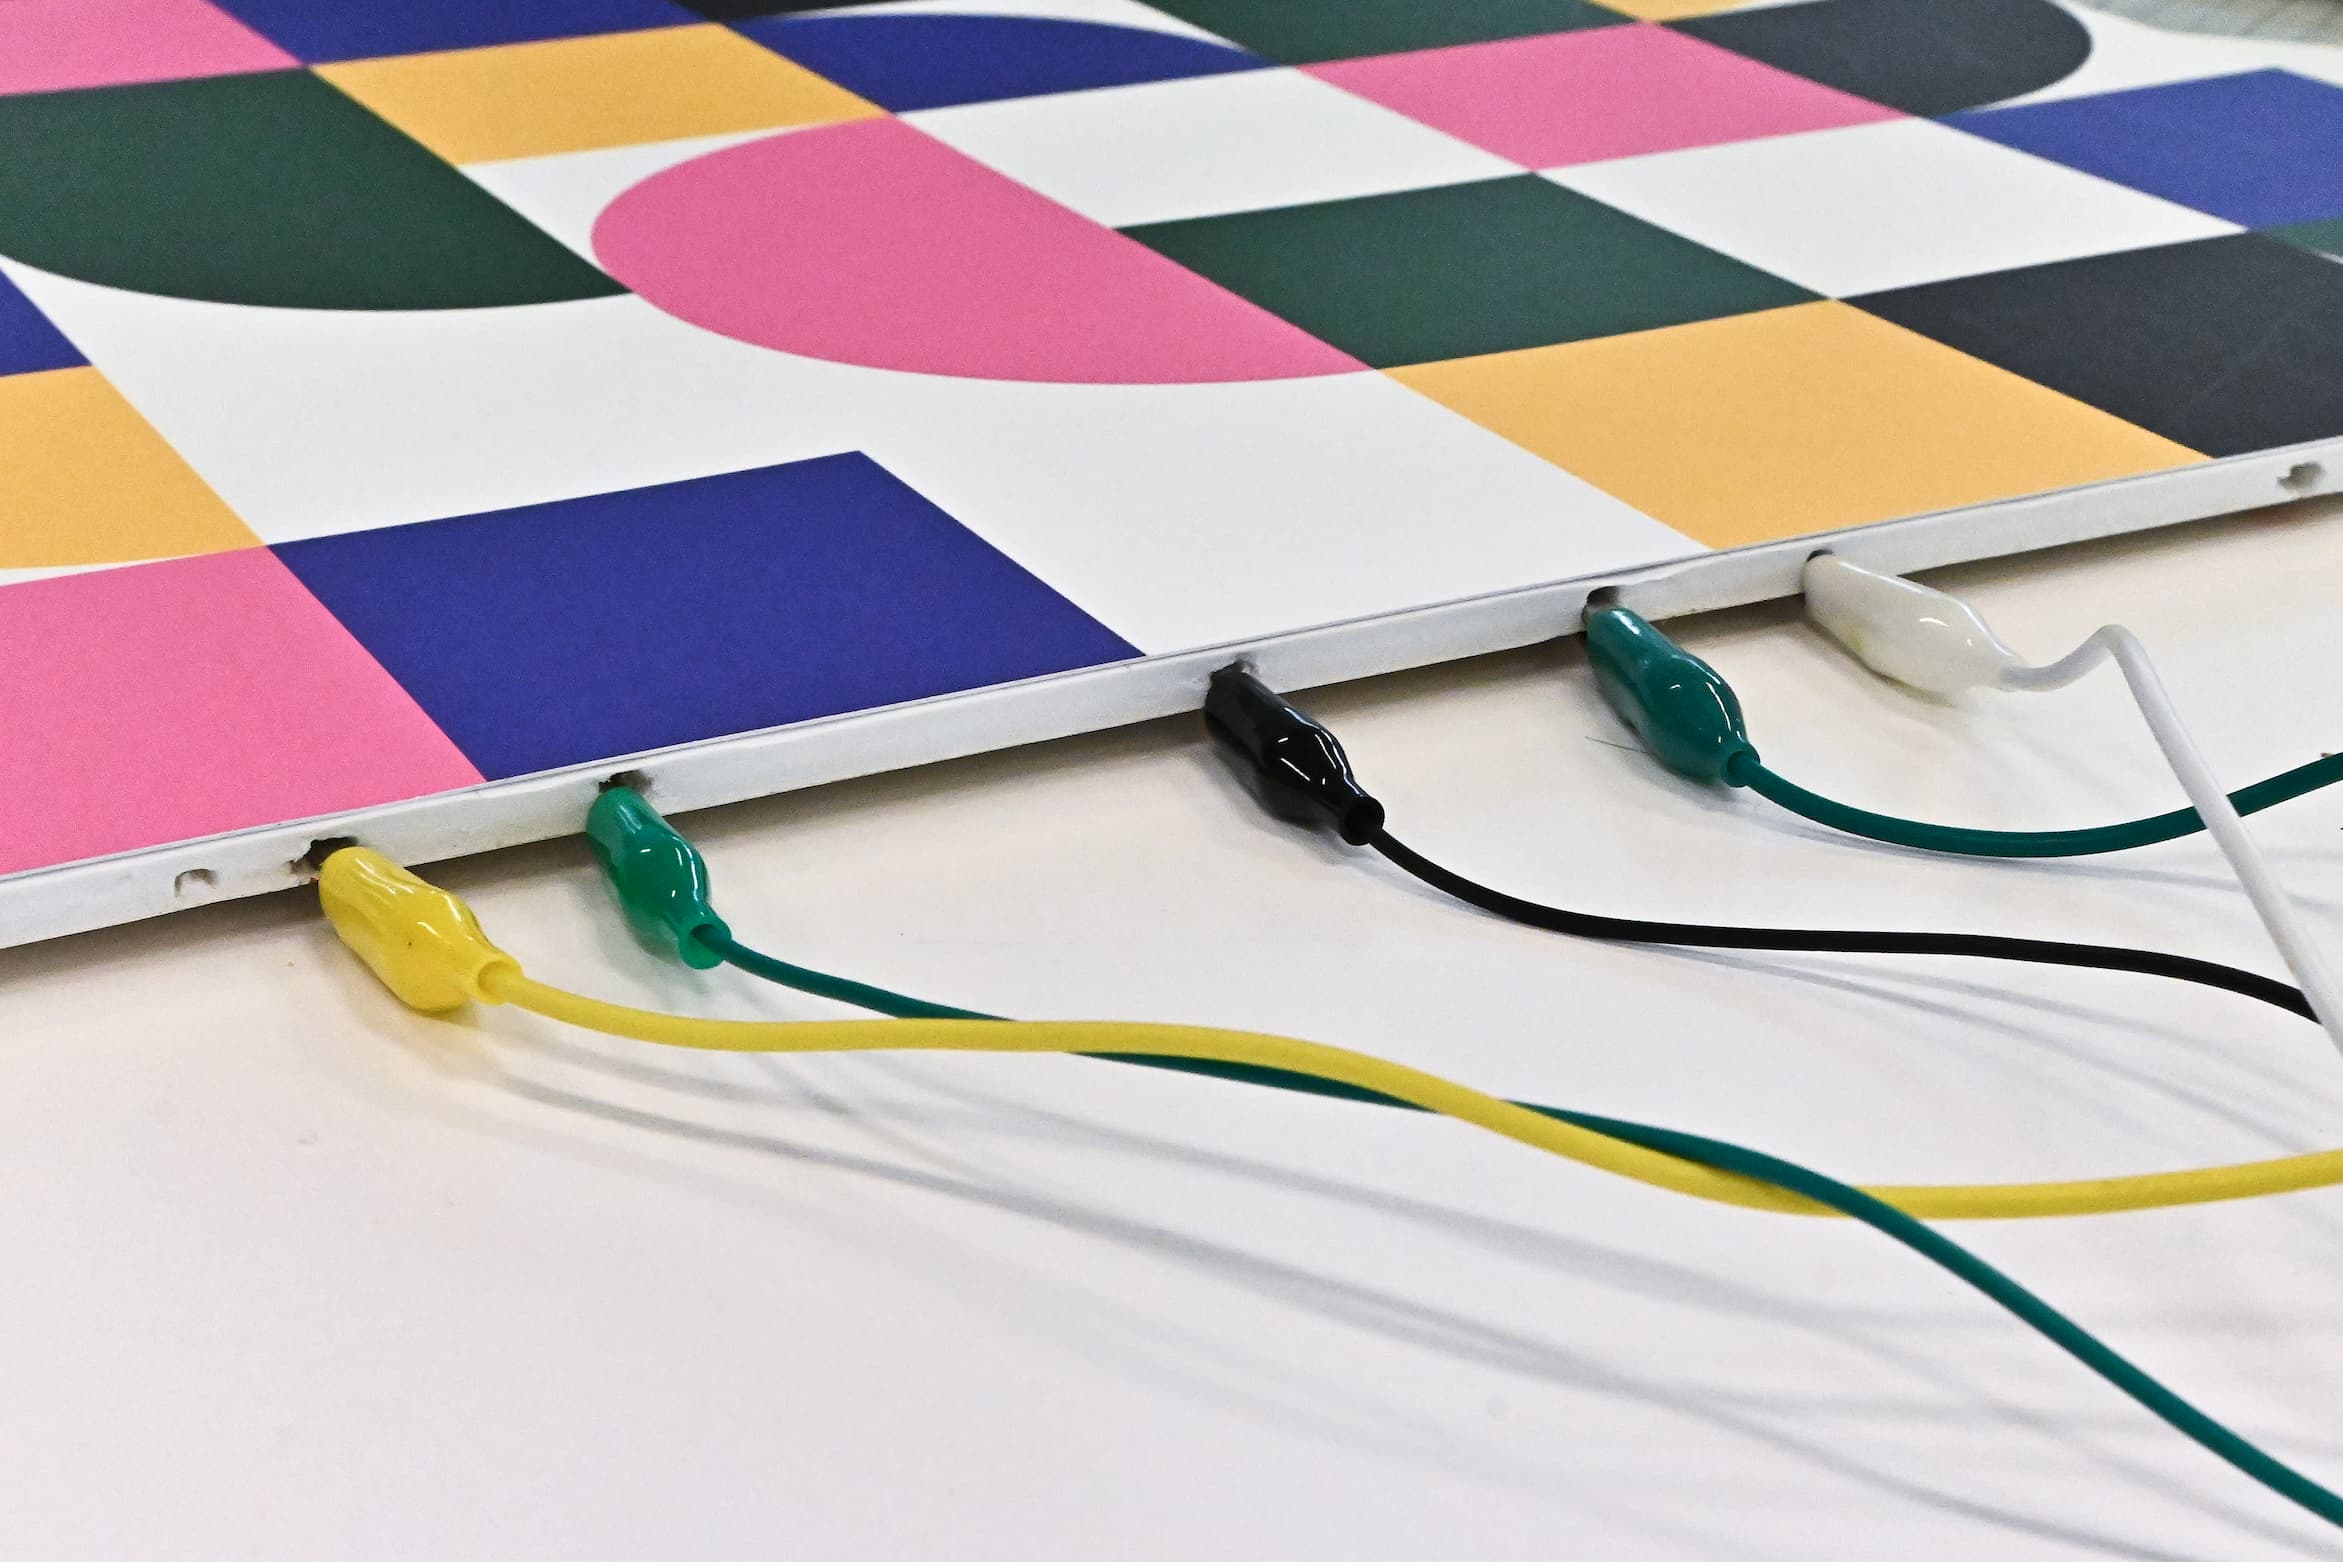
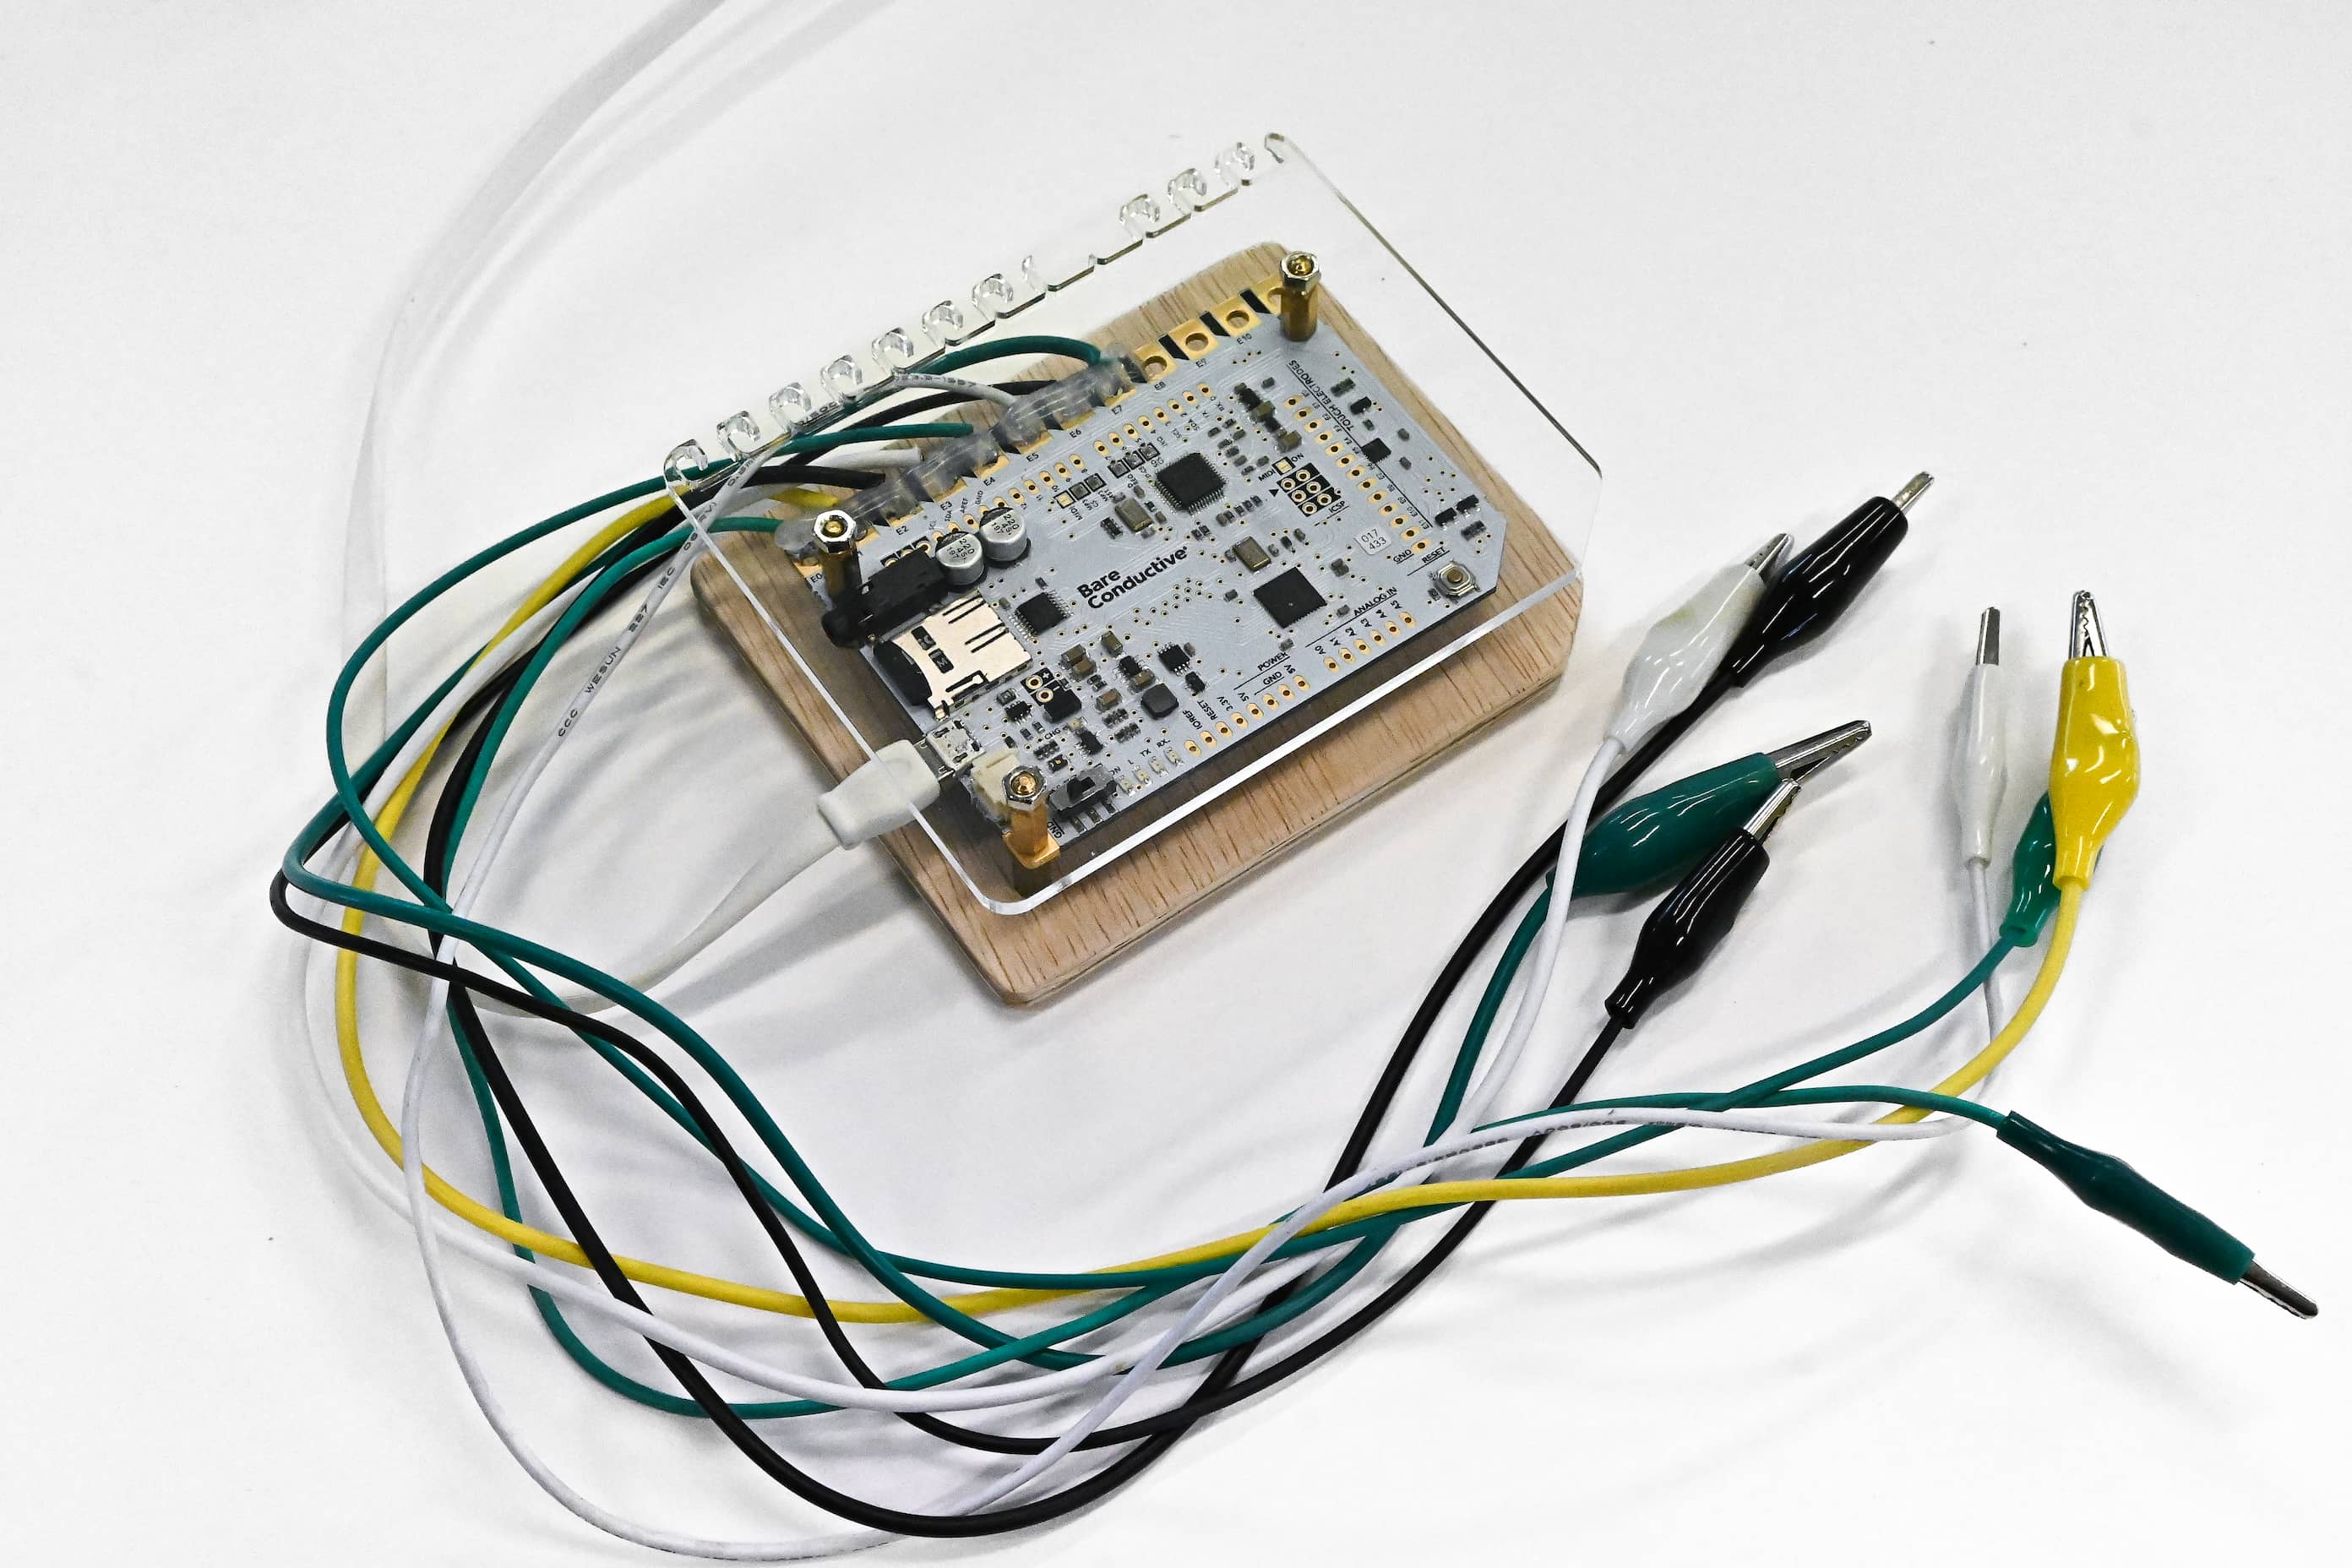
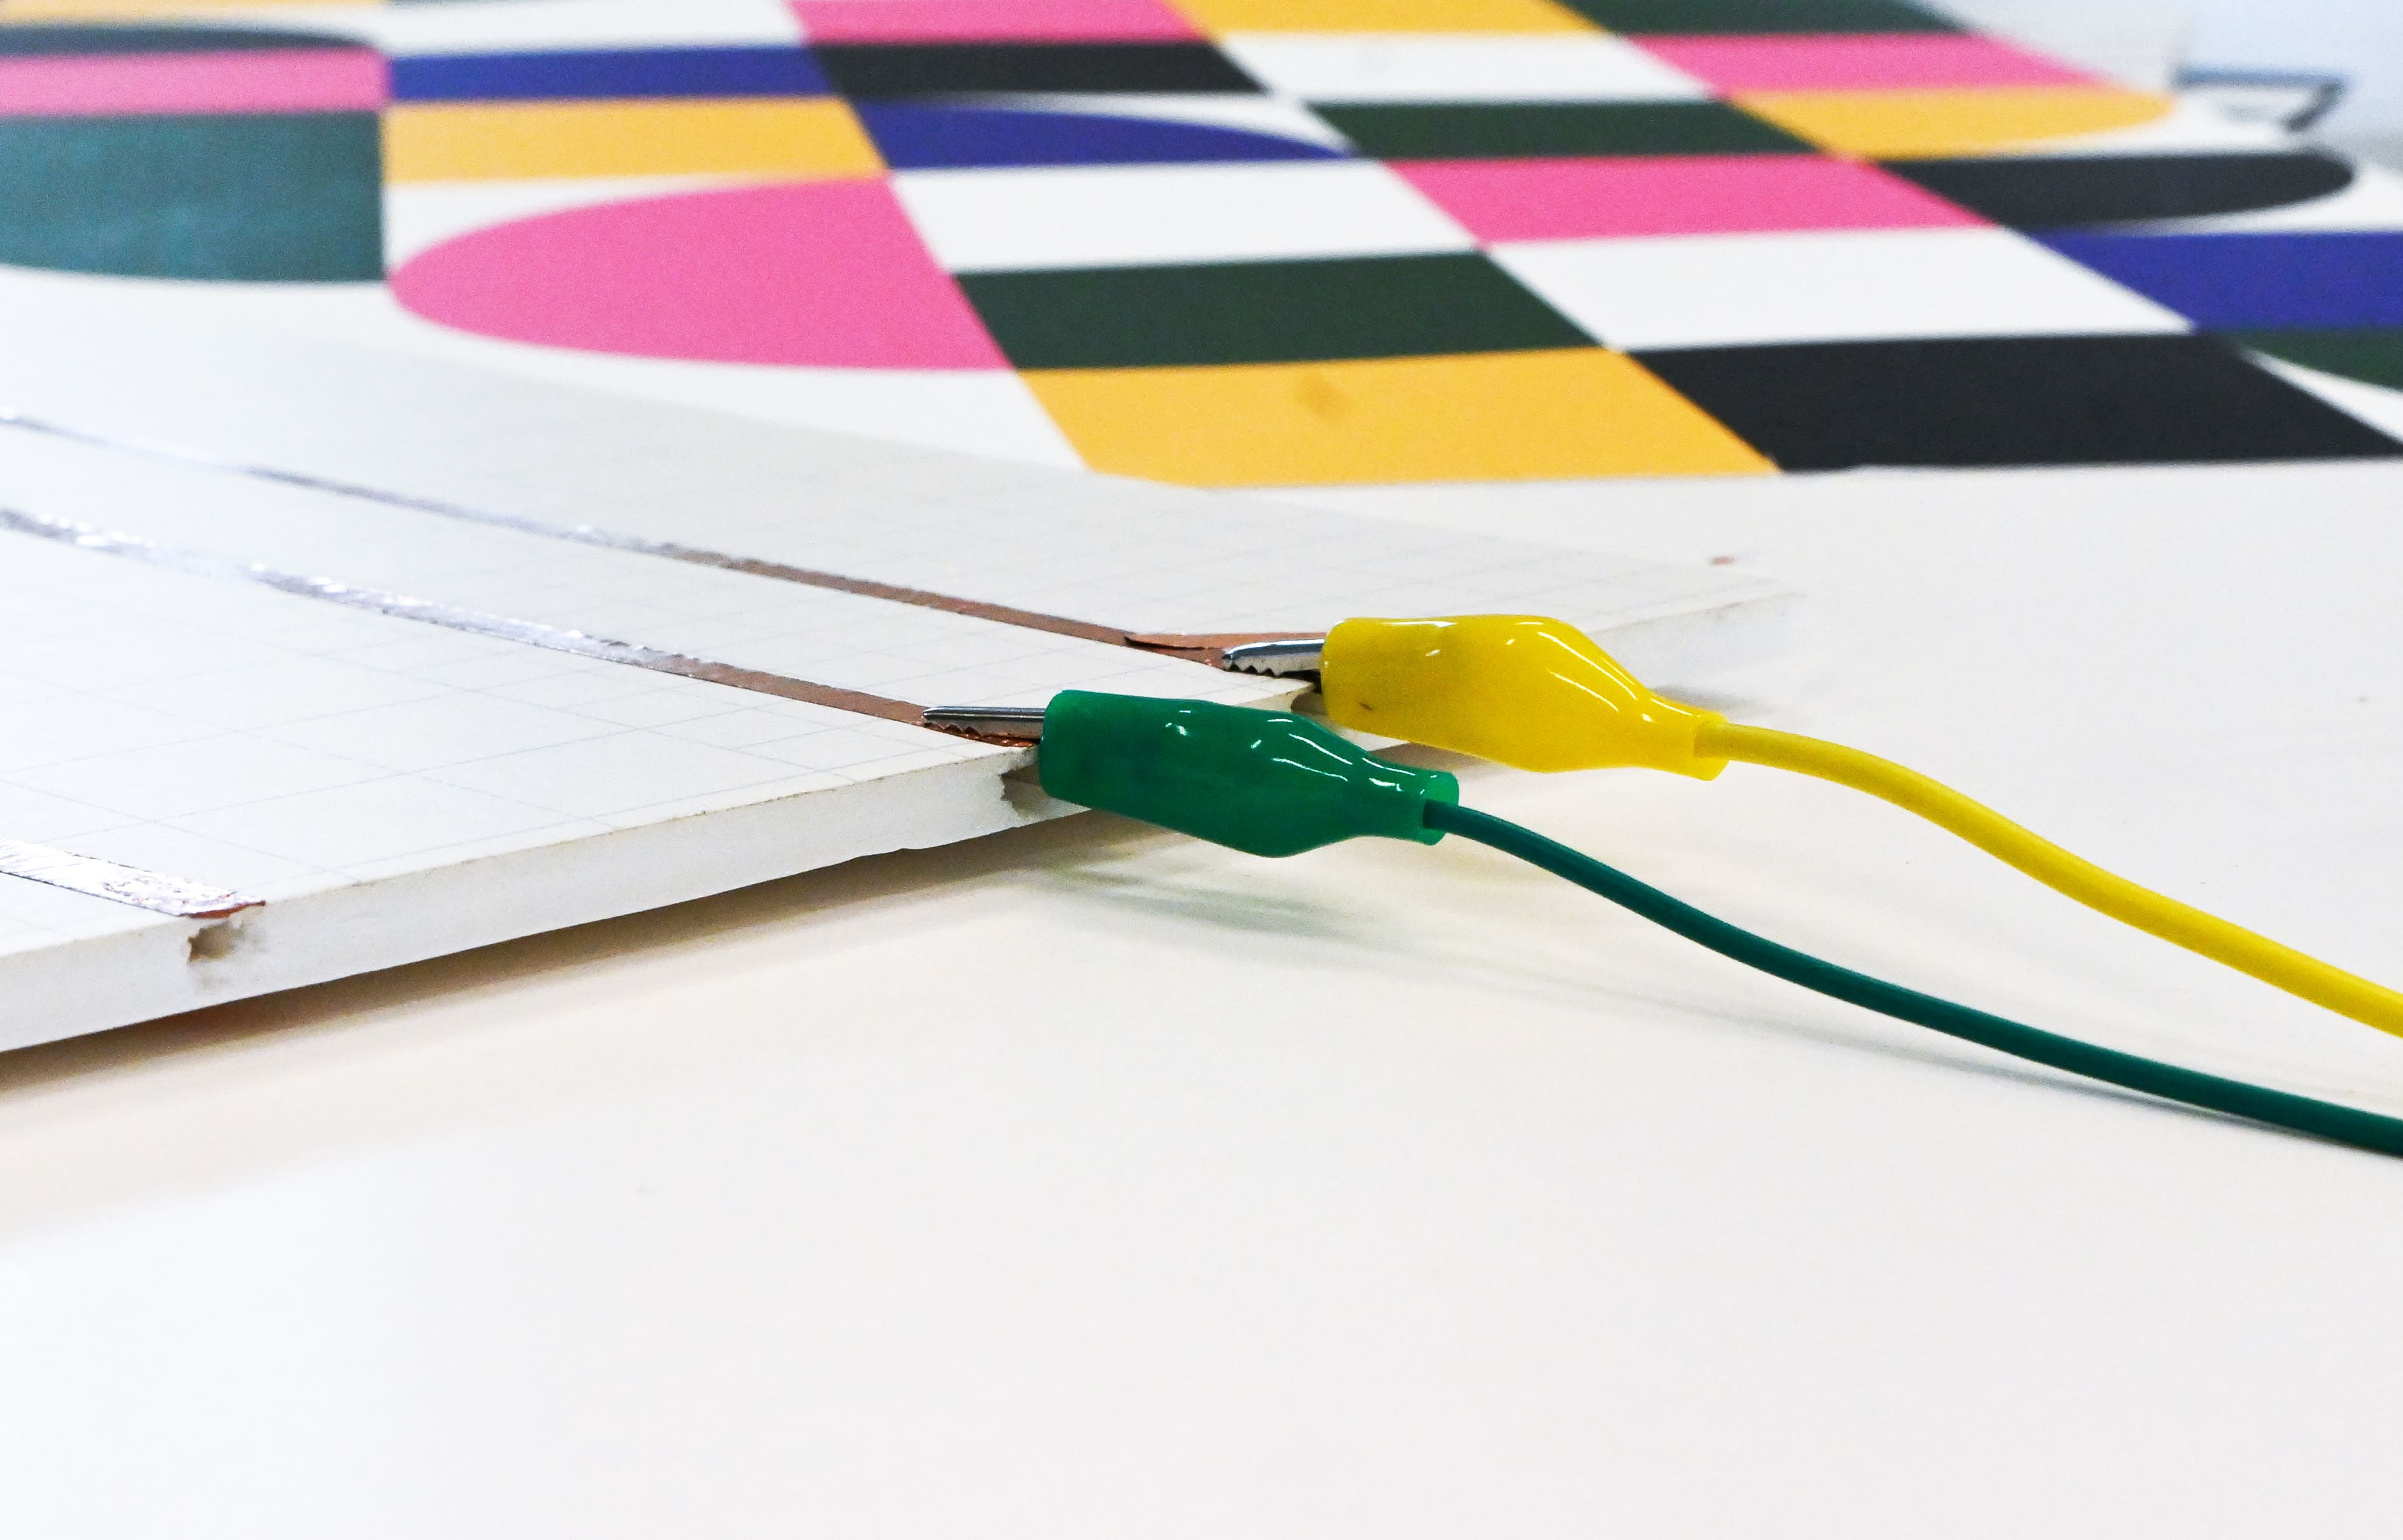
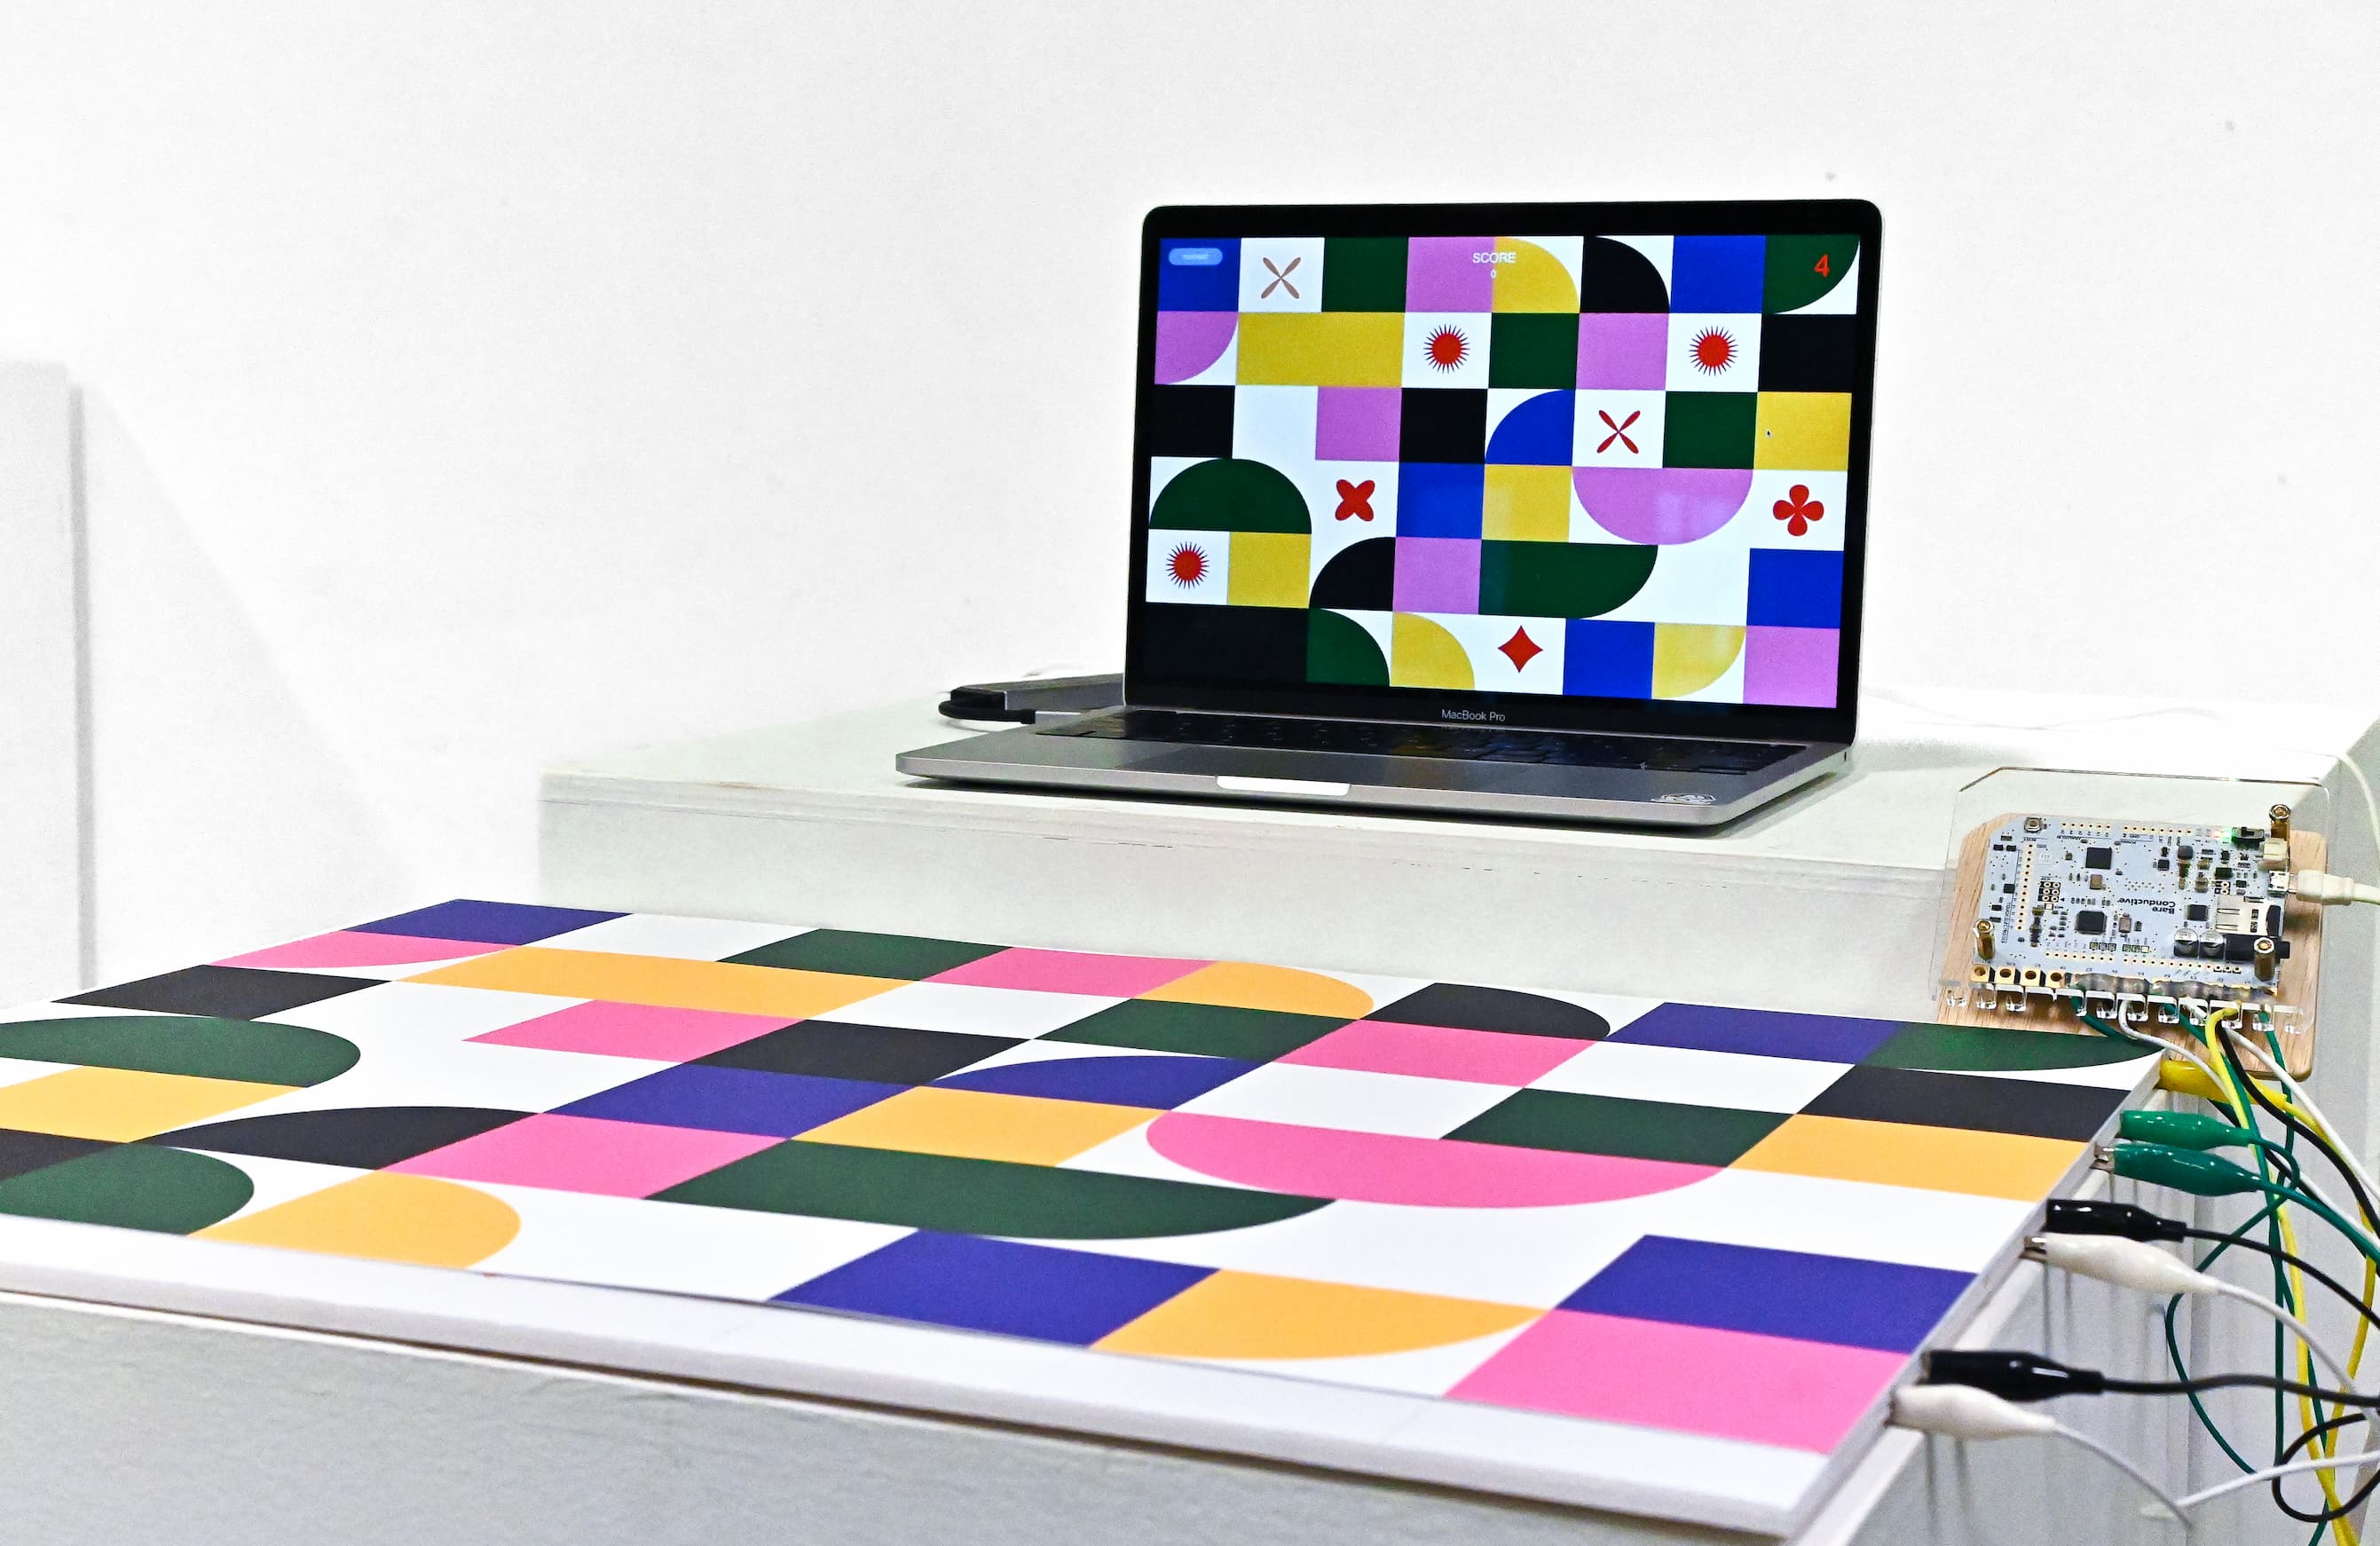
The way our game board would function is through the use of conductive paint or tape, which will link to the Touch Board through crocodile clips, and finally the computer who “plays” the p5js code.
Bare conductive vs. Conductive tape
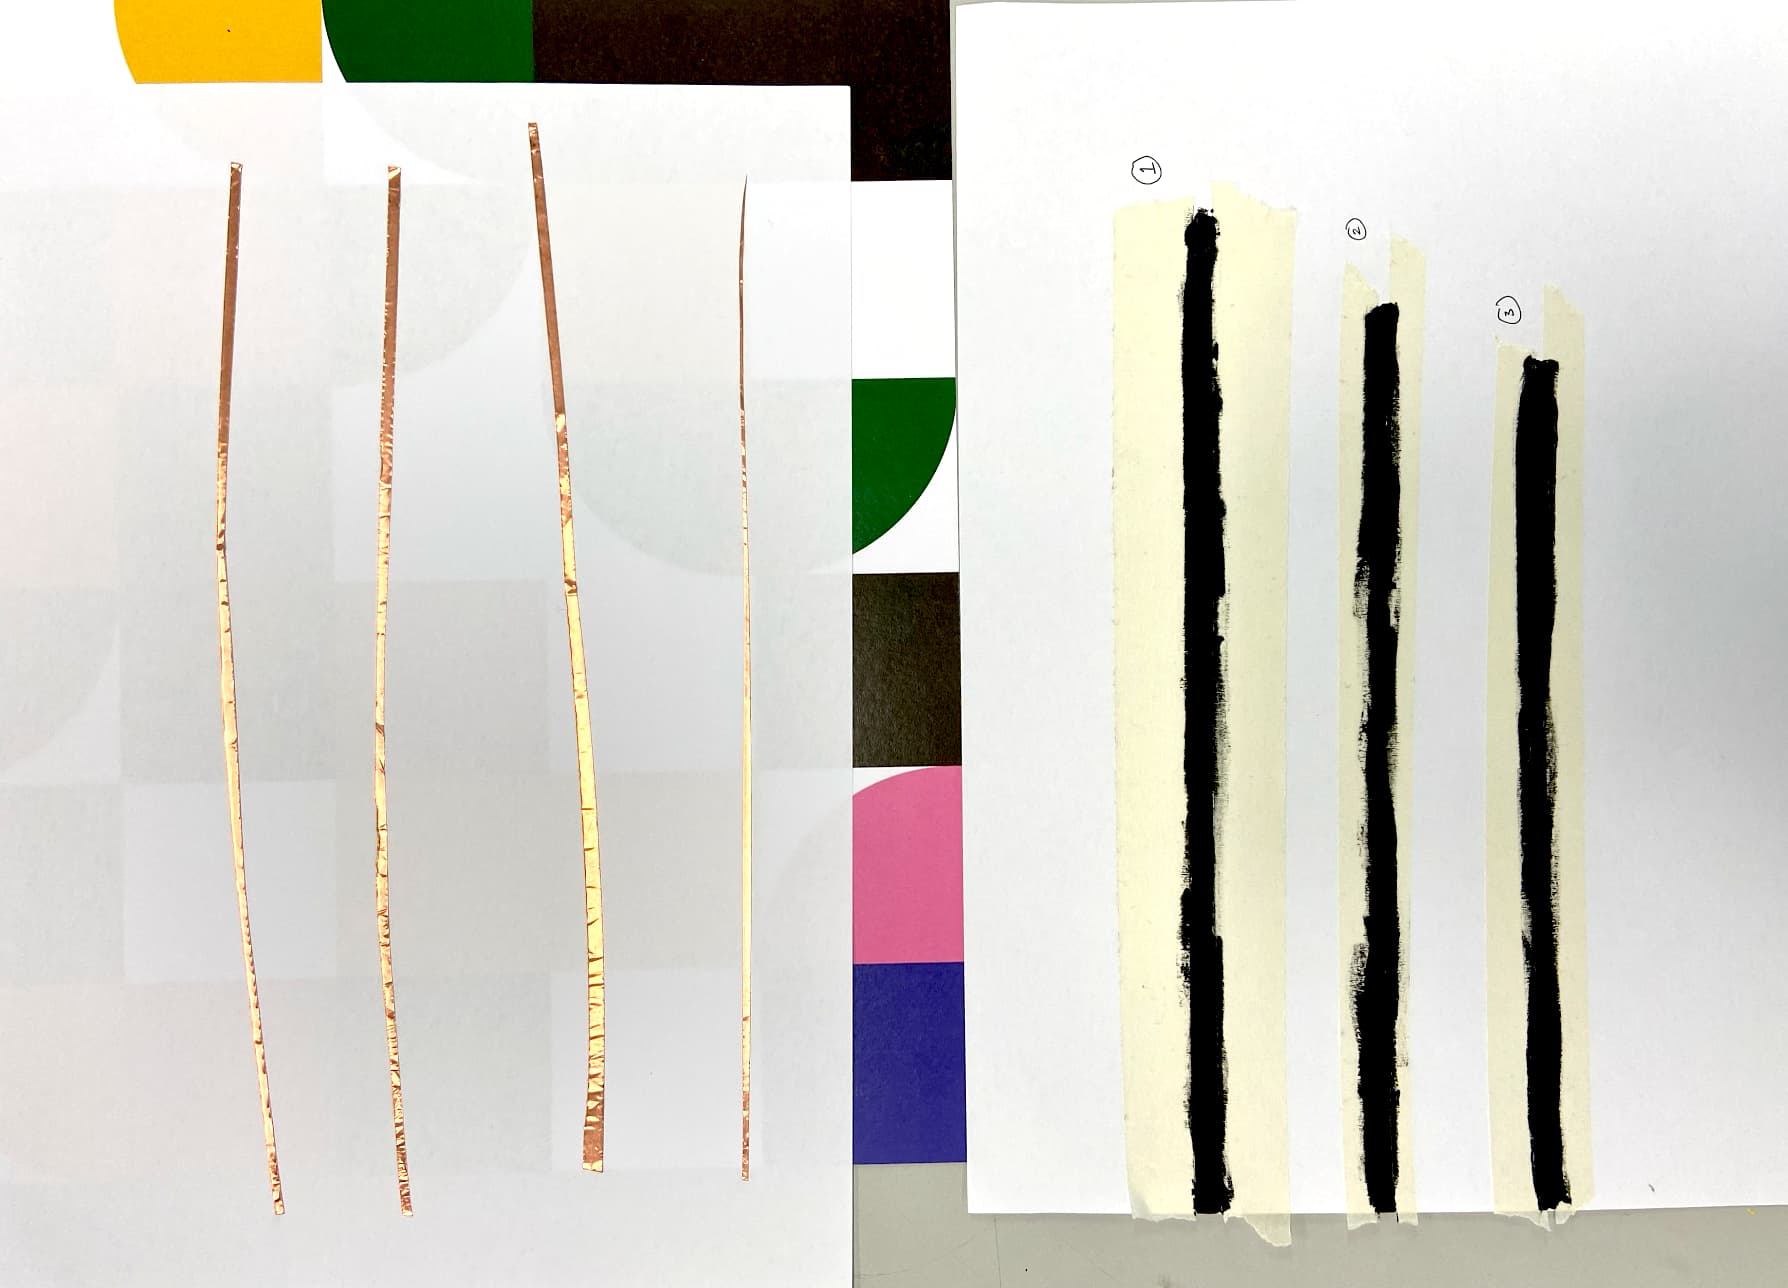
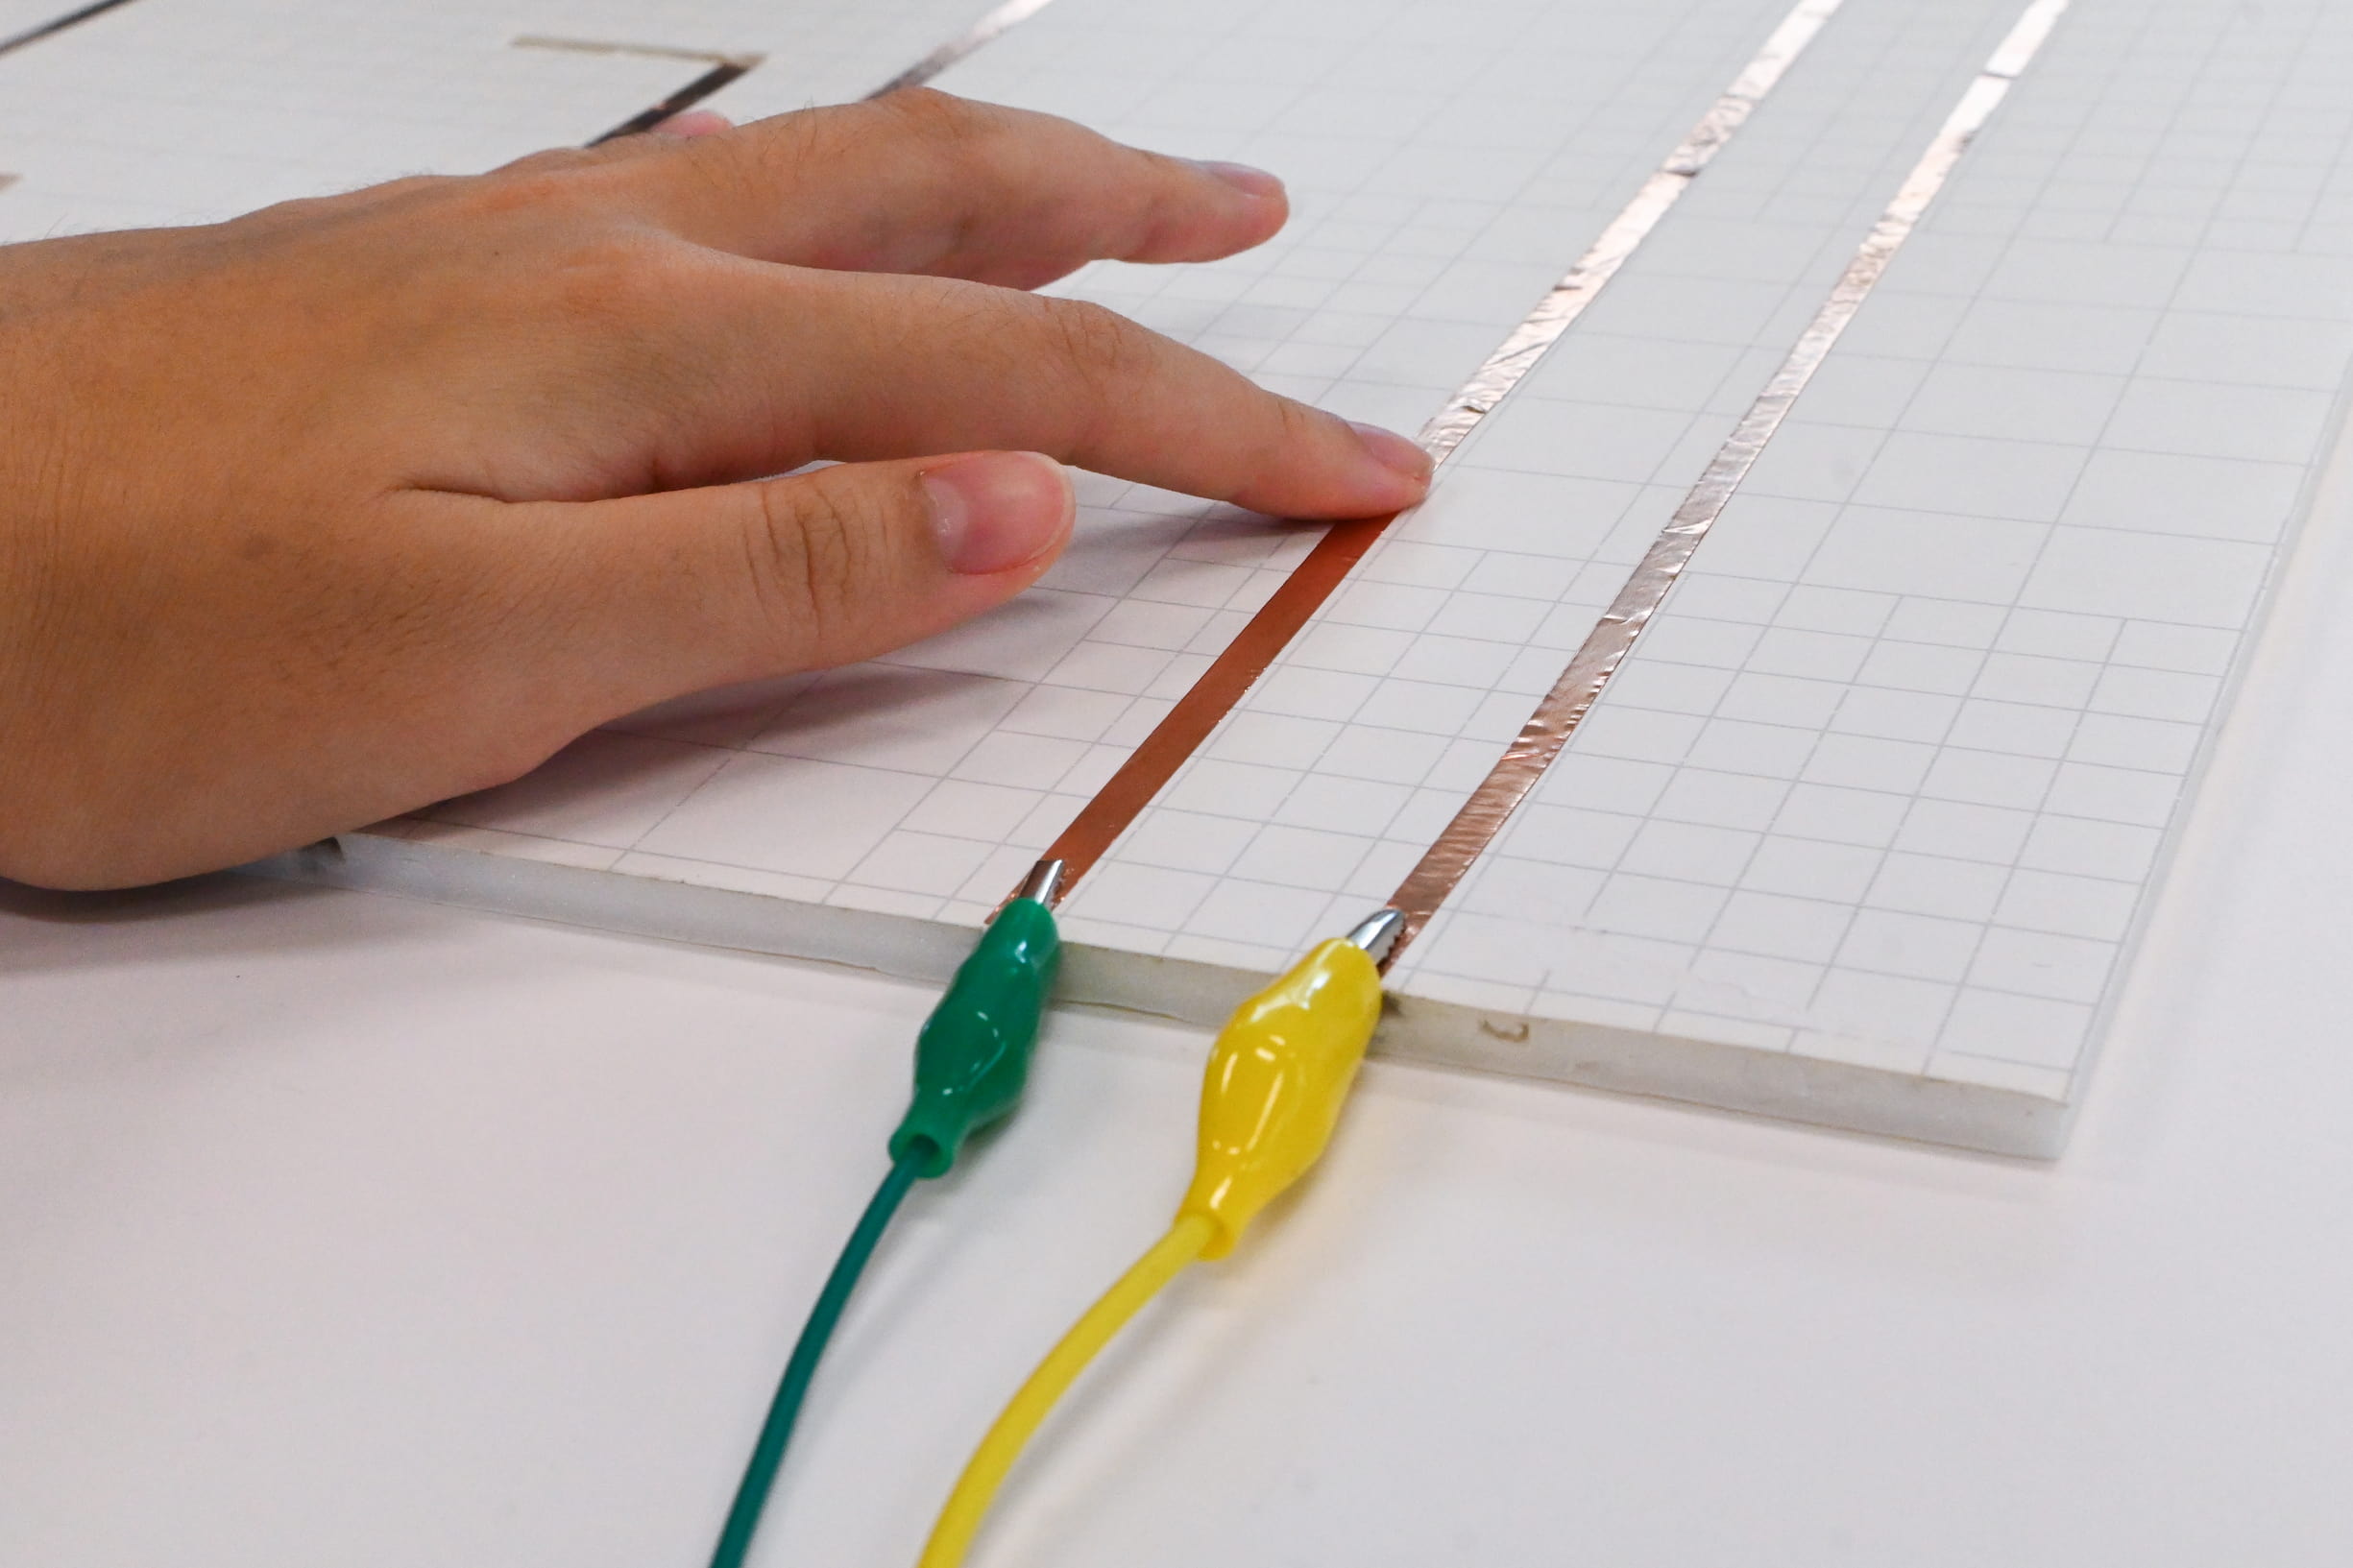
The first exploration is to determine whether to use the bare conductive paint, or copper tape. A series of tests were conducted to determine which functioned the best for our board. On two separate pieces of paper, we made lines of different heights and widths using the two materials. Following this, the Touch Board was attached to the paper using a crocodile clip, and we touched along the lines to see which material was most sensitive and responsive to our tapping motions. Through this experiment, we found that the copper tape worked the best in terms of its reliability and distance of responsiveness. This was quite unfortunate as we had initially wanted to use the Bare Conductive paint, yet we found that it needed many layers and diligence to work the same as the copper tape.
How do we line the tape?
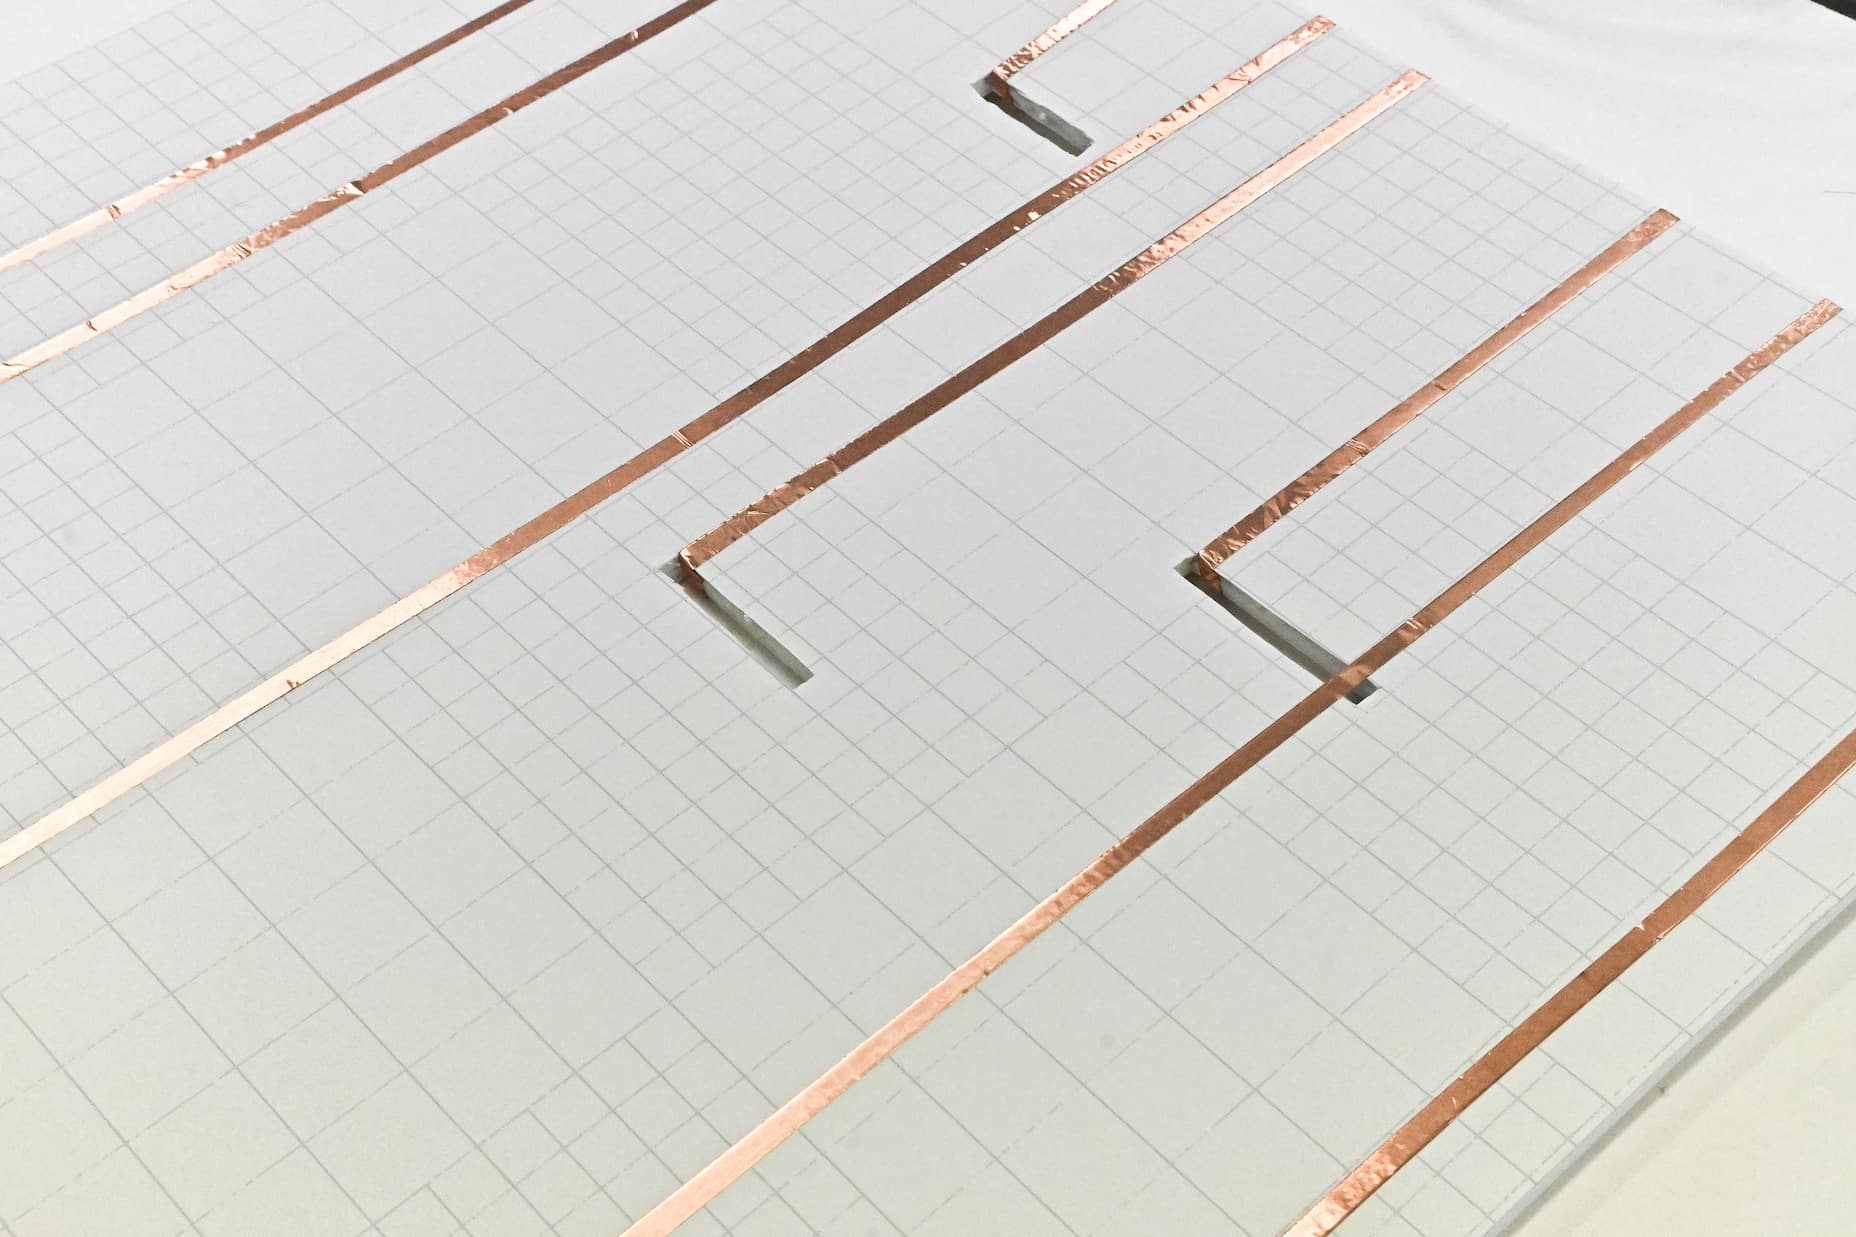
In illustrator, we sketched out the path in which we hope to place the copper tape, and did a first trial experiment to see if the close placement will create issues in terms of sensitivity. To keep the board as neat as possible, we wanted the copper tape lines to go towards only one side of the board, thus all the crocodile clips will hang off of one side.
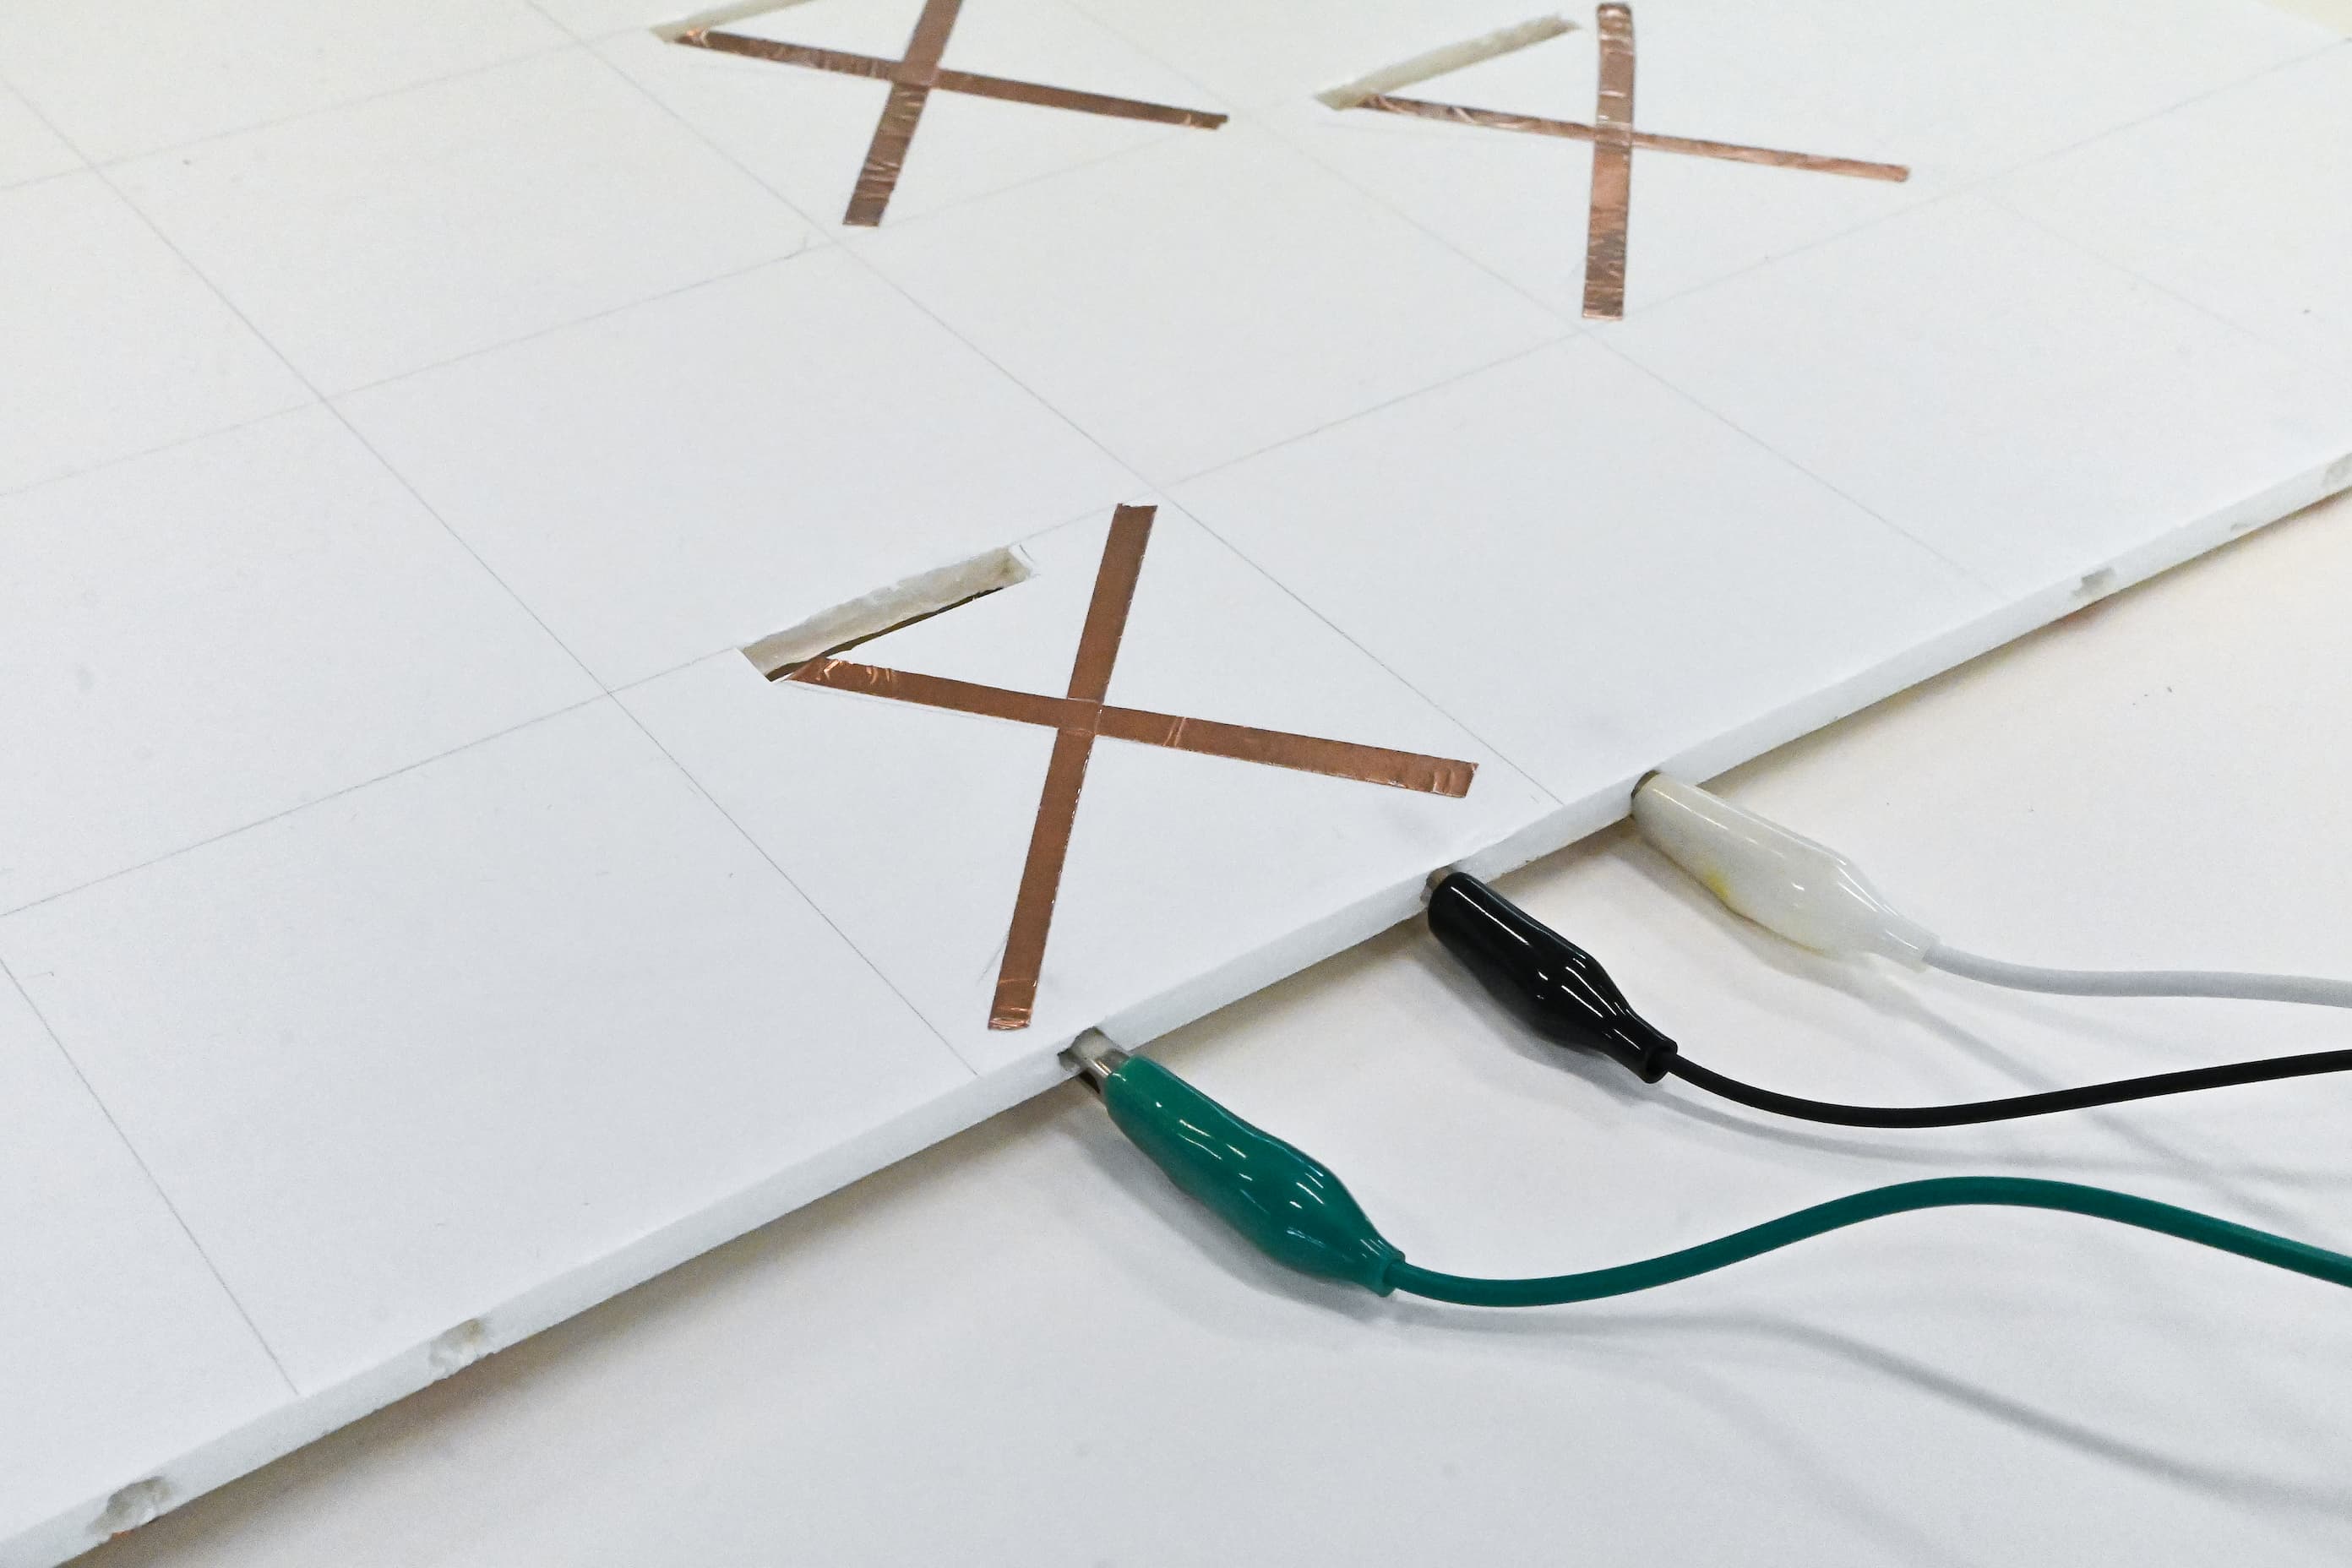
Another problem we’ve come across is not about the sensitivity of the touch points, but more about how the lines are easily accidentally touched. To combat this, we decided to have the lines and the touchpoints to be on two different sides of the board. We cut a small hole at the top of each touchpoint to wrap the tape over to the other side. This way, there is a separation of the two, and the user will not as easily accidentally touch the other points.
The board
The next point of consideration is what material would be used for the board itself? Initially, we had wanted to use a more flexible material, like a fabric mat so the game can easily be packed away and stored when not in use. However, it is difficult to implement both the copper tape and the bare conductive paint with this material. We ultimately decided to choose a sturdier material instead, either cardboard or plywood for the board.
A problem we came across however, is the crocodile clips making the board unstable on the bottom. This is especially an issue with the plywood because the material is so stiff, thus the board easily wobbles as one side is more elevated than the other.
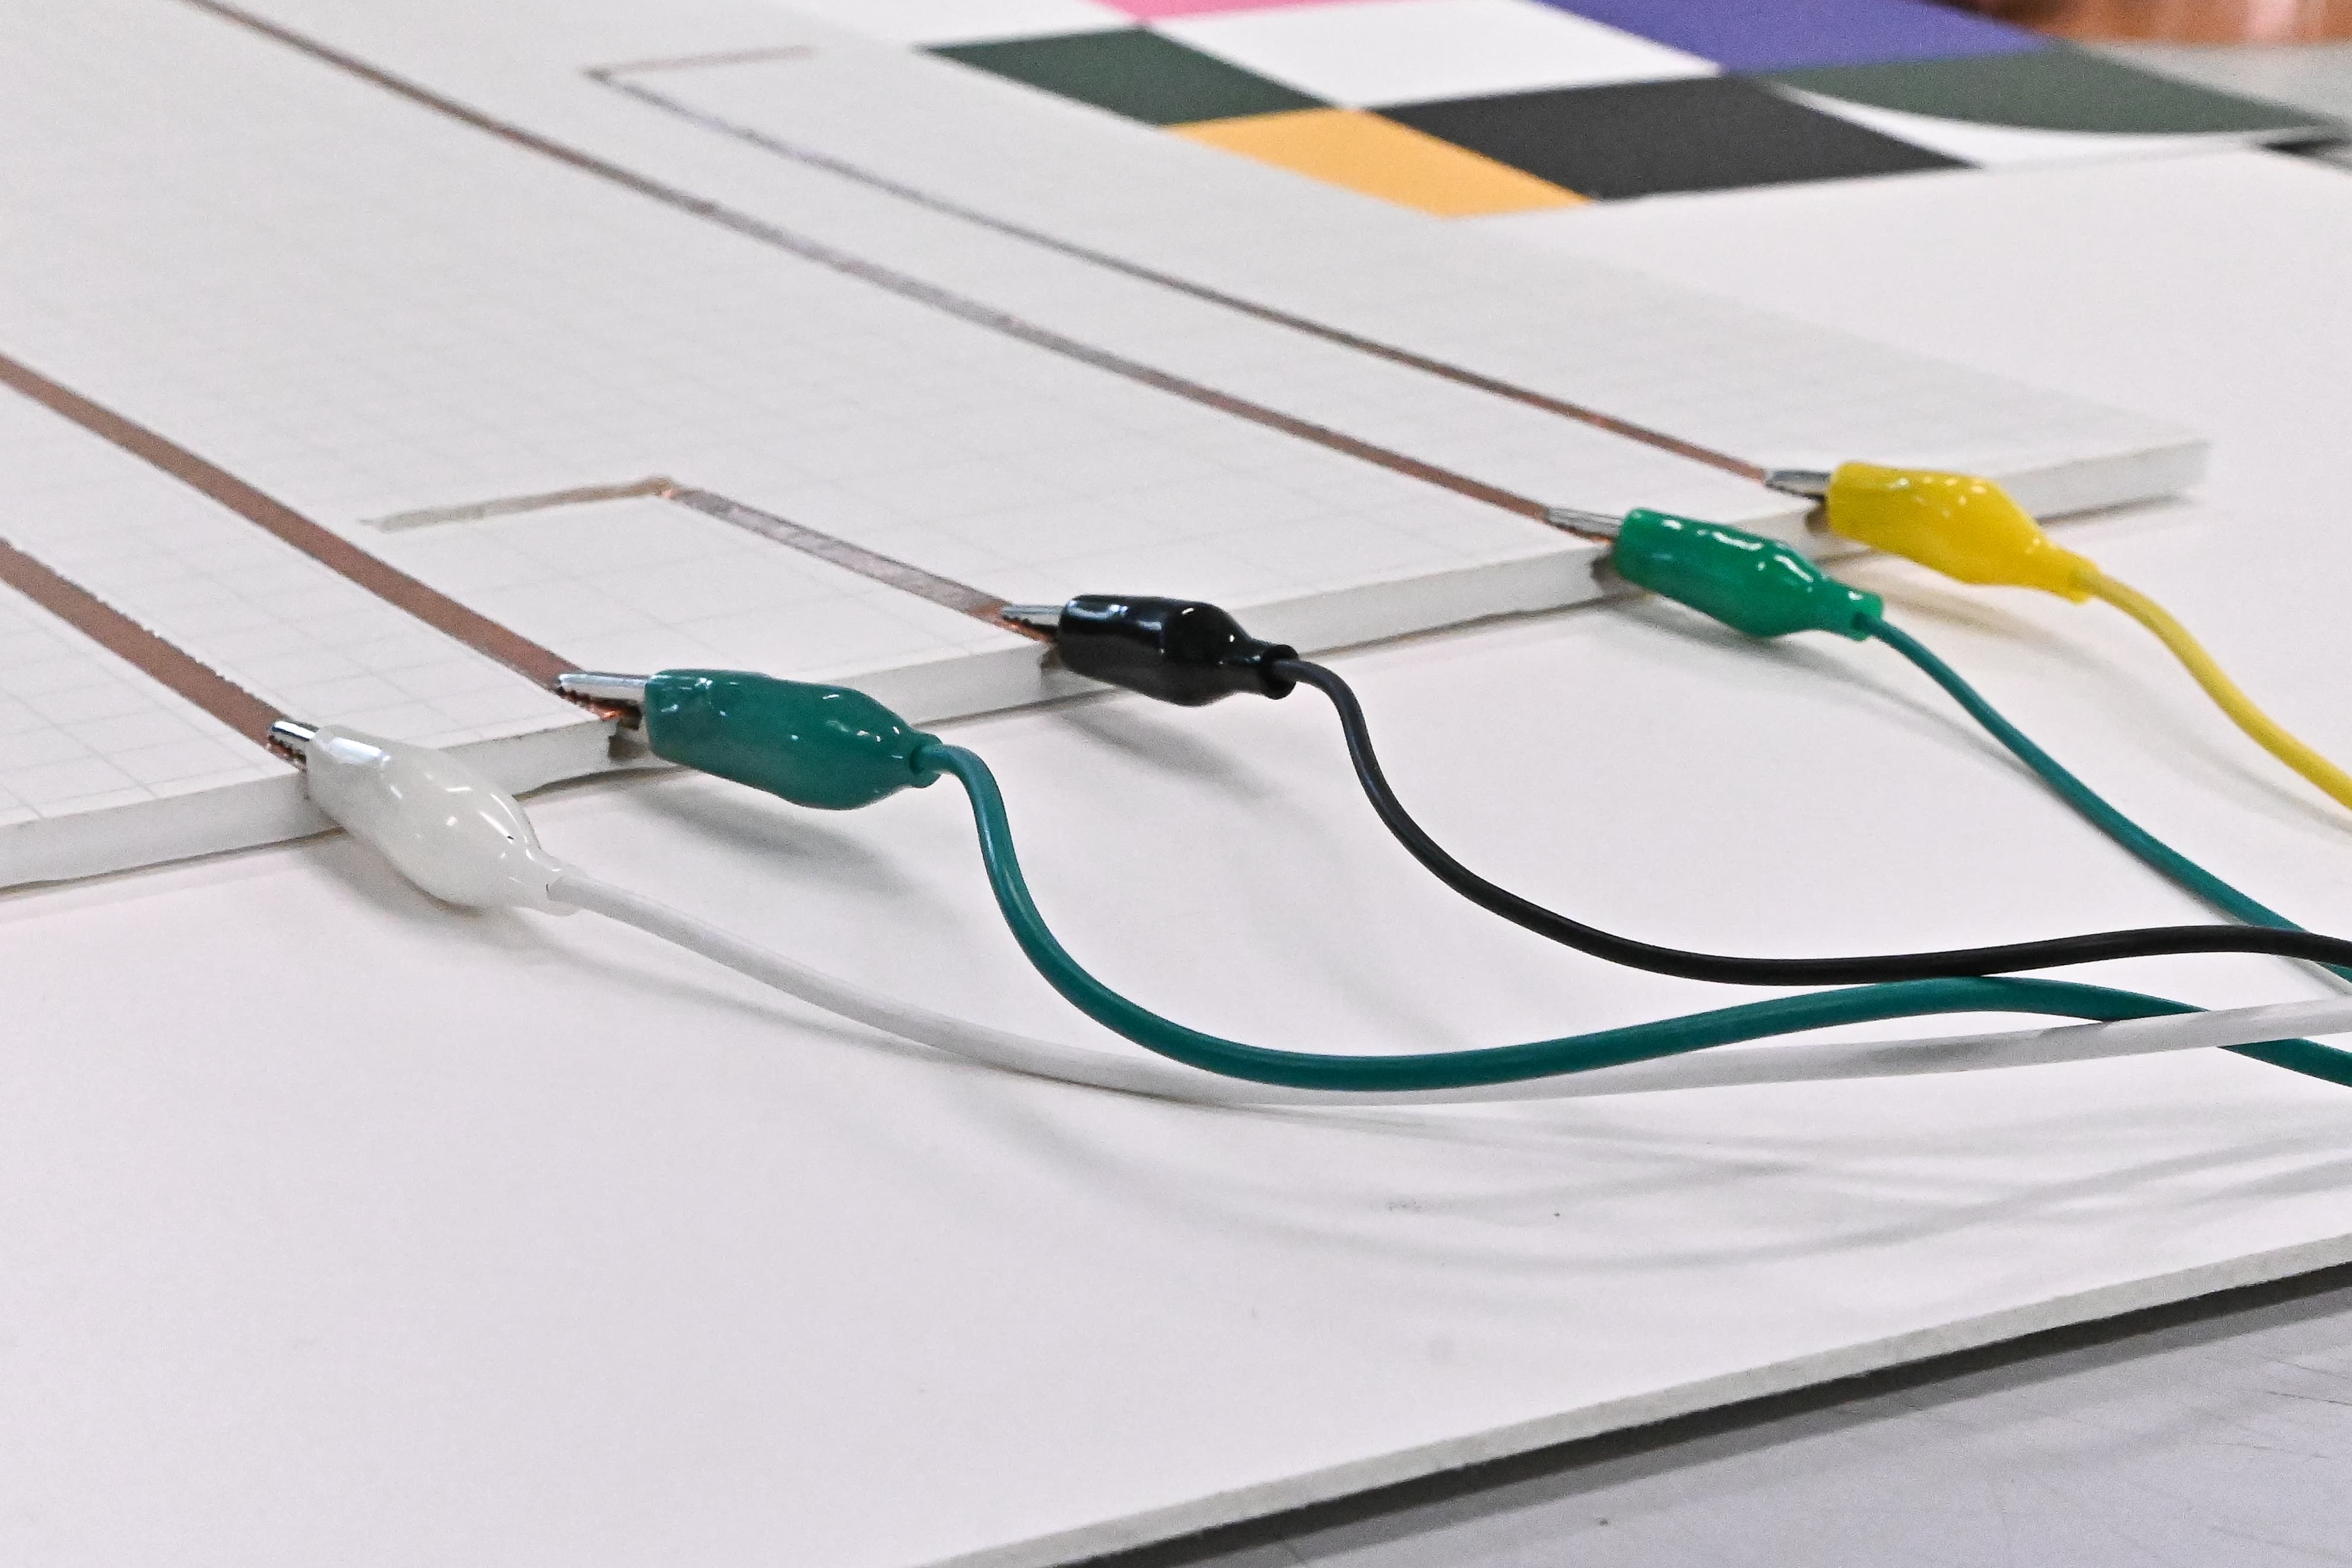
To combat this issue, we implemented the use of a foam board. This allowed us to pierce through the middle of the board, thus “hiding” the crocodile clip between. This definitely reduced the amount of shaking caused by the instability of the bottom of the board.
The prototype
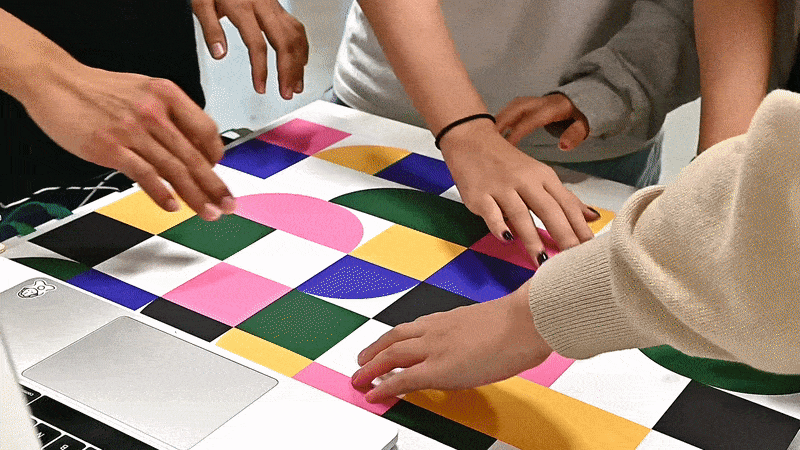
The final prototype is A2 in size, made of foam board. The board’s design is placed on top of the conductive workings of the foam board, and was intentionally not permanently stuck to the board to allow for interchangeability between the different designs. The material of the foam board is very lightweight yet sturdy, therefore it can be easily moved around.
The simplicity of the geometric designs on our boards further aligns with Ikea’s designs, allowing it to be easily brought into everyone’s home. We wanted to make sure that this board can have multiple uses, and serve as a table mat or piece of decoration when not being played.
This is only the prototype, not the official design of the Roundup board. The official board is projected to be even larger than A2, perhaps A1 or A0 in size, and is thicker too, thus being able to “hide” the unsightly cables and Touch Board beneath it.
User testing
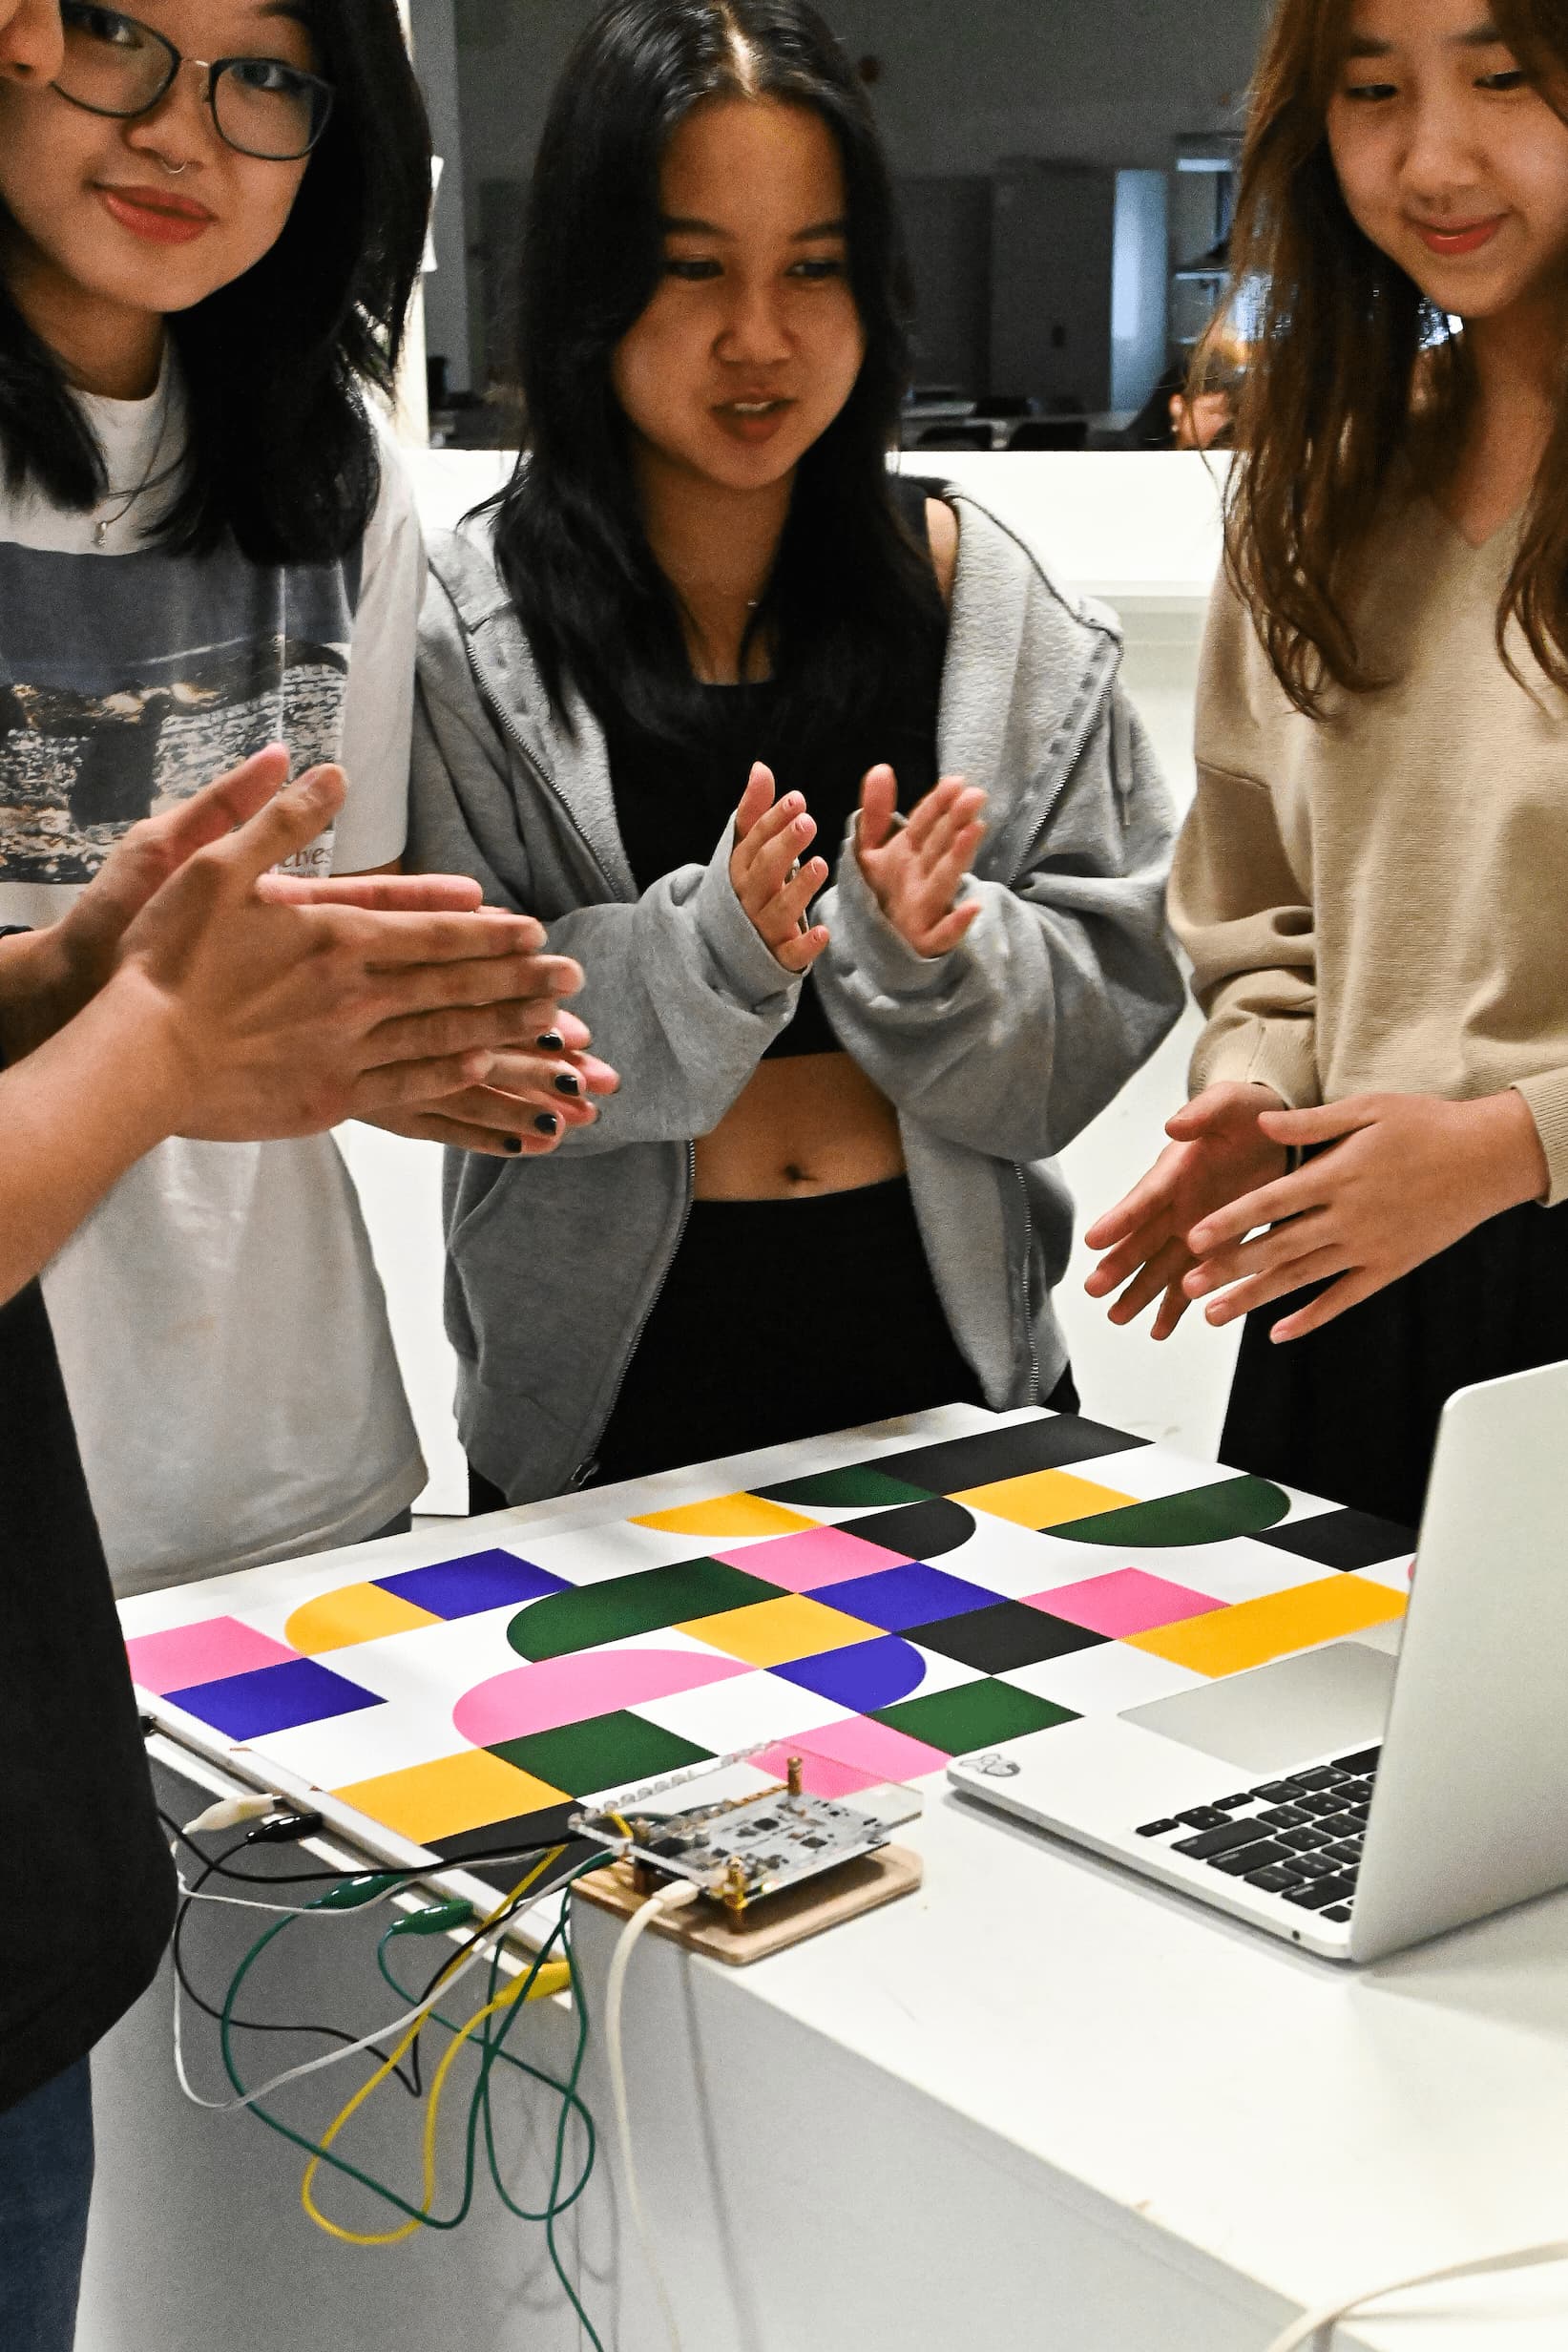
We conducted multiple user testing before the final showcase during our presentation. Overall, users were very satisfied with the overall experience of the game, the appearing and disappearing of shapes in relation to their motions, as well as the sound features. The users were very intrigued with what this board does, and were especially attracted to the brightly colored design that was inviting them to come over.
Some input we received was to be clearer on the game’s objective, perhaps we could add a timer to the game, or an intention of how many scores is necessary. If not, it is a bit confusing when the game begins and ends, and it is necessary to maintain the user’s interest and focus on the game. Additionally, we received feedback that we can perhaps add different levels to the game, from easy, medium and hard to fit the user’s preference and also as a motivating feature that makes them keep playing.